Switched to a more regular shape as it will be clearer to identify print troubles (opposed to shape/form troubles)
Cone w/ 10deg Tilt
1 wall, Spiral
52psi (change from bar for exactness)
13min, * first “successful” clay print *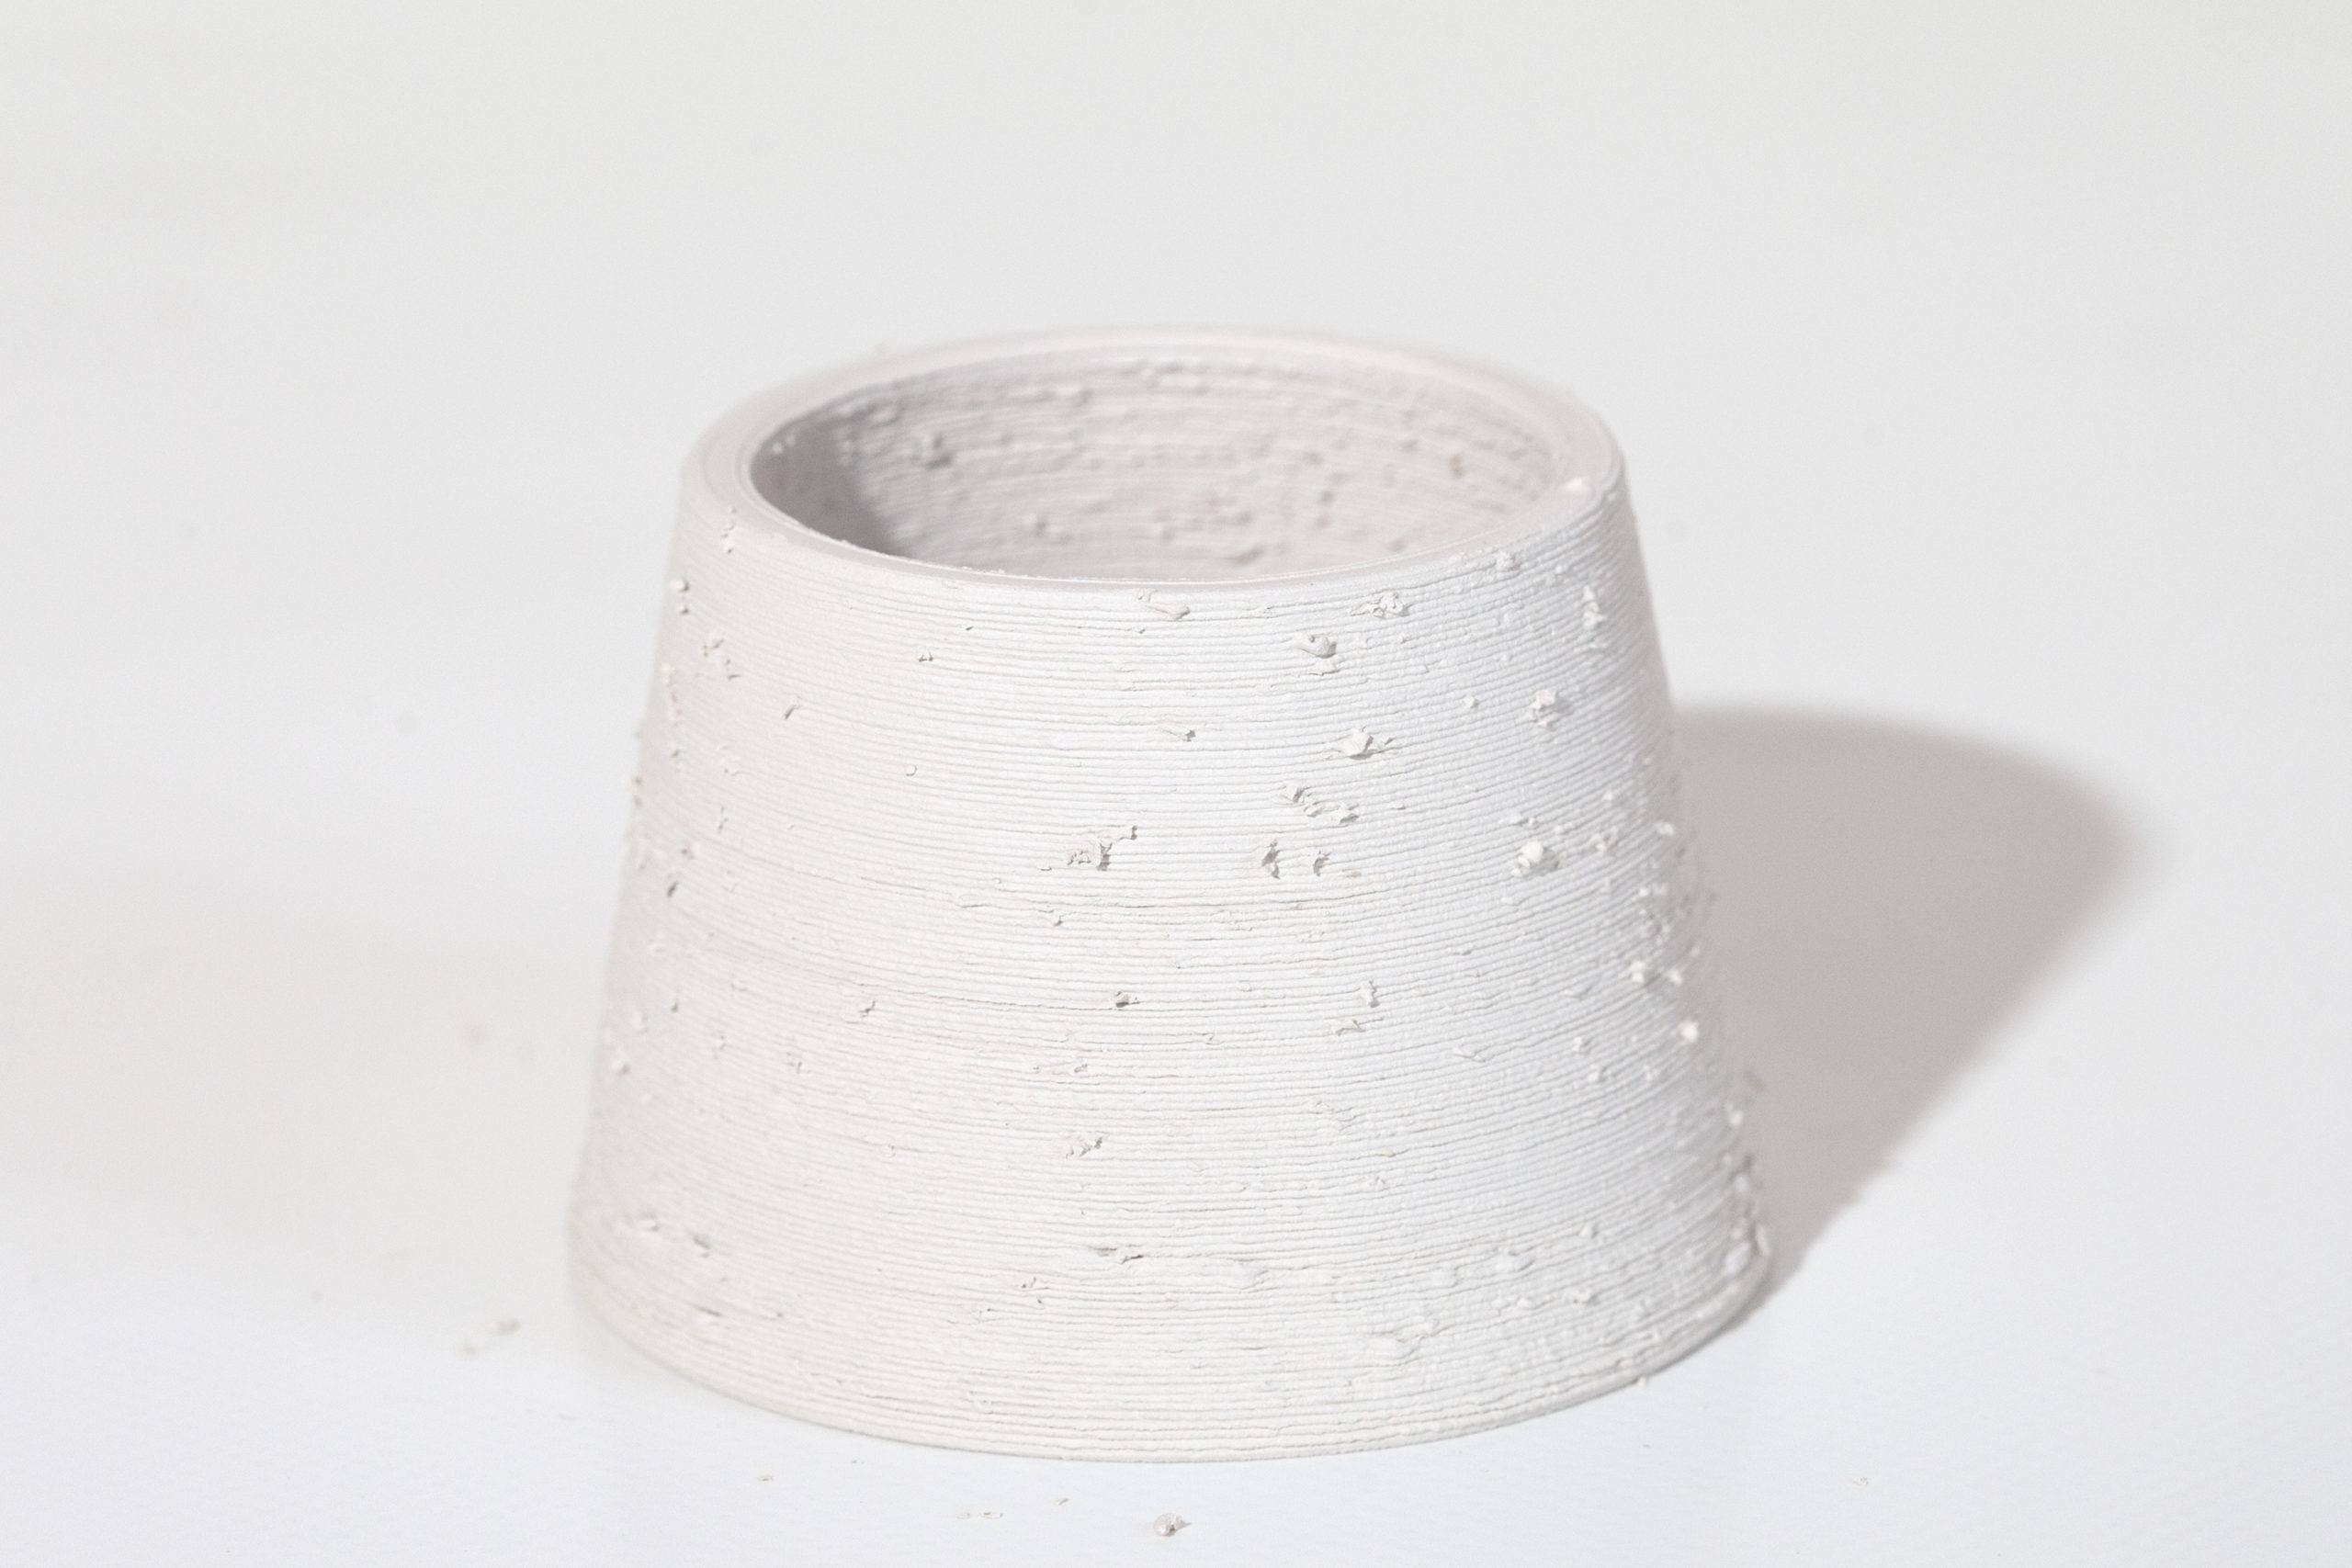
Cone w/ 20deg Tilt
1 wall, Spiral
50psi
11min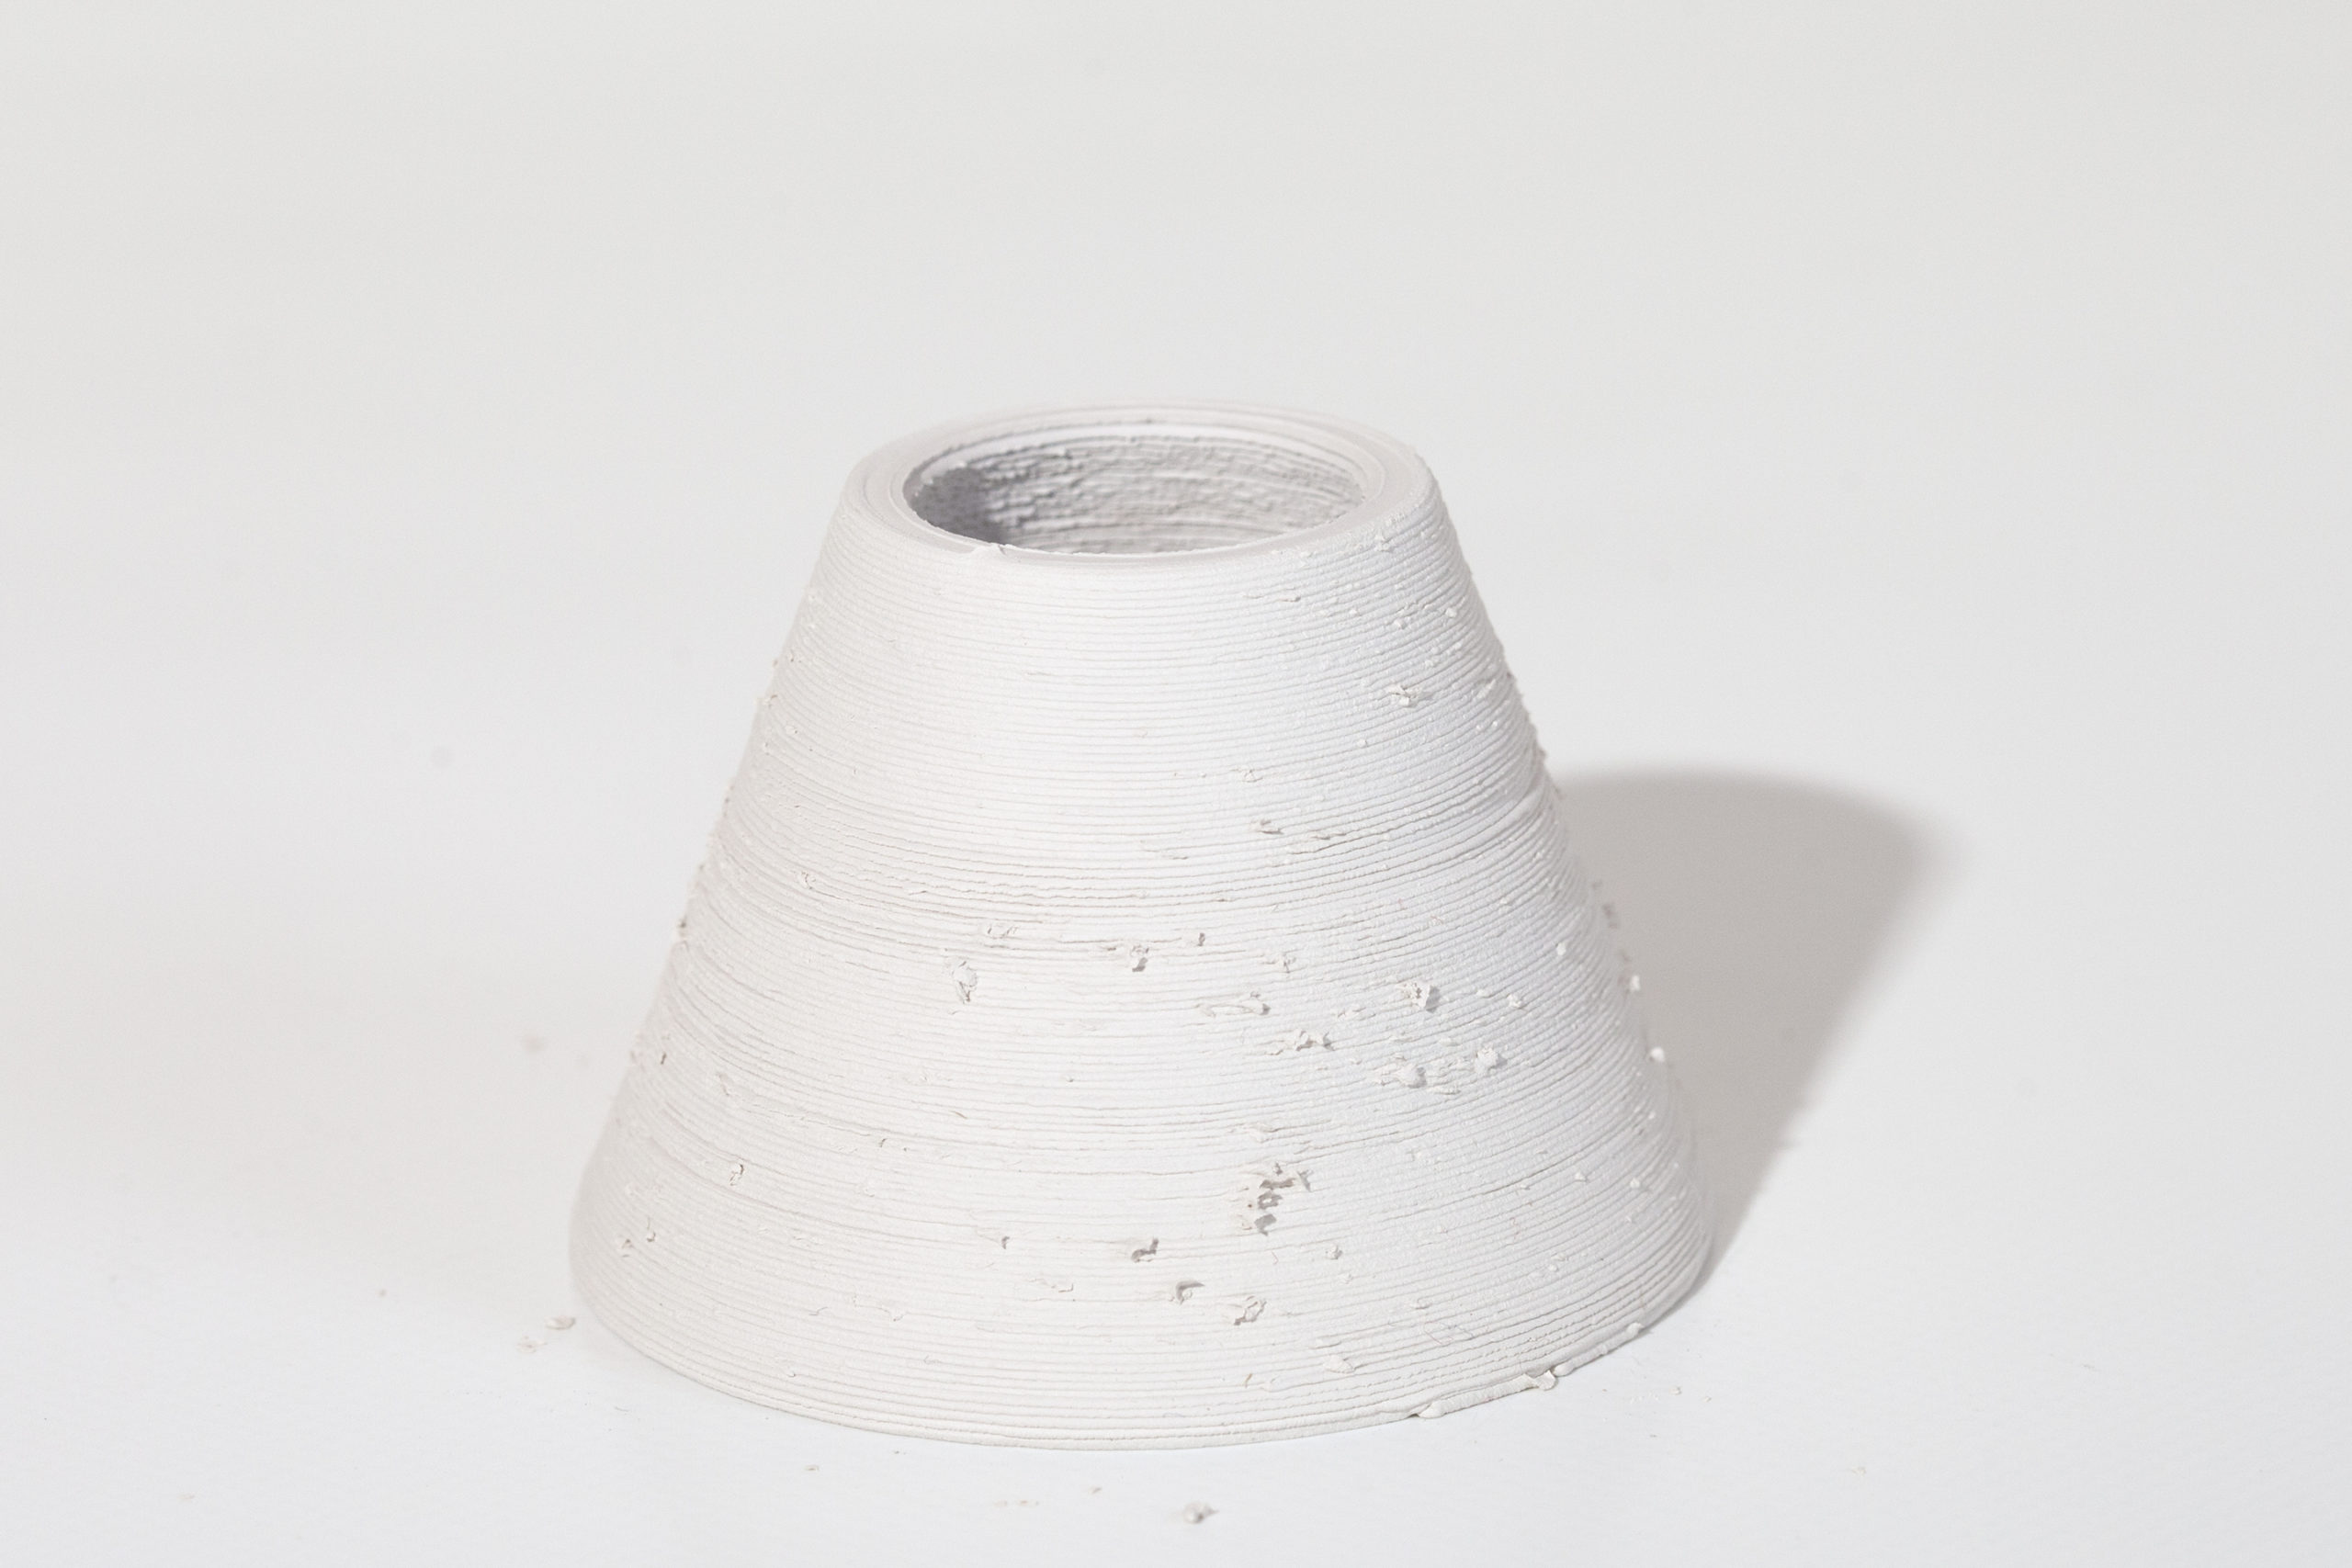
Cone w/ 30deg Tilt
“
9min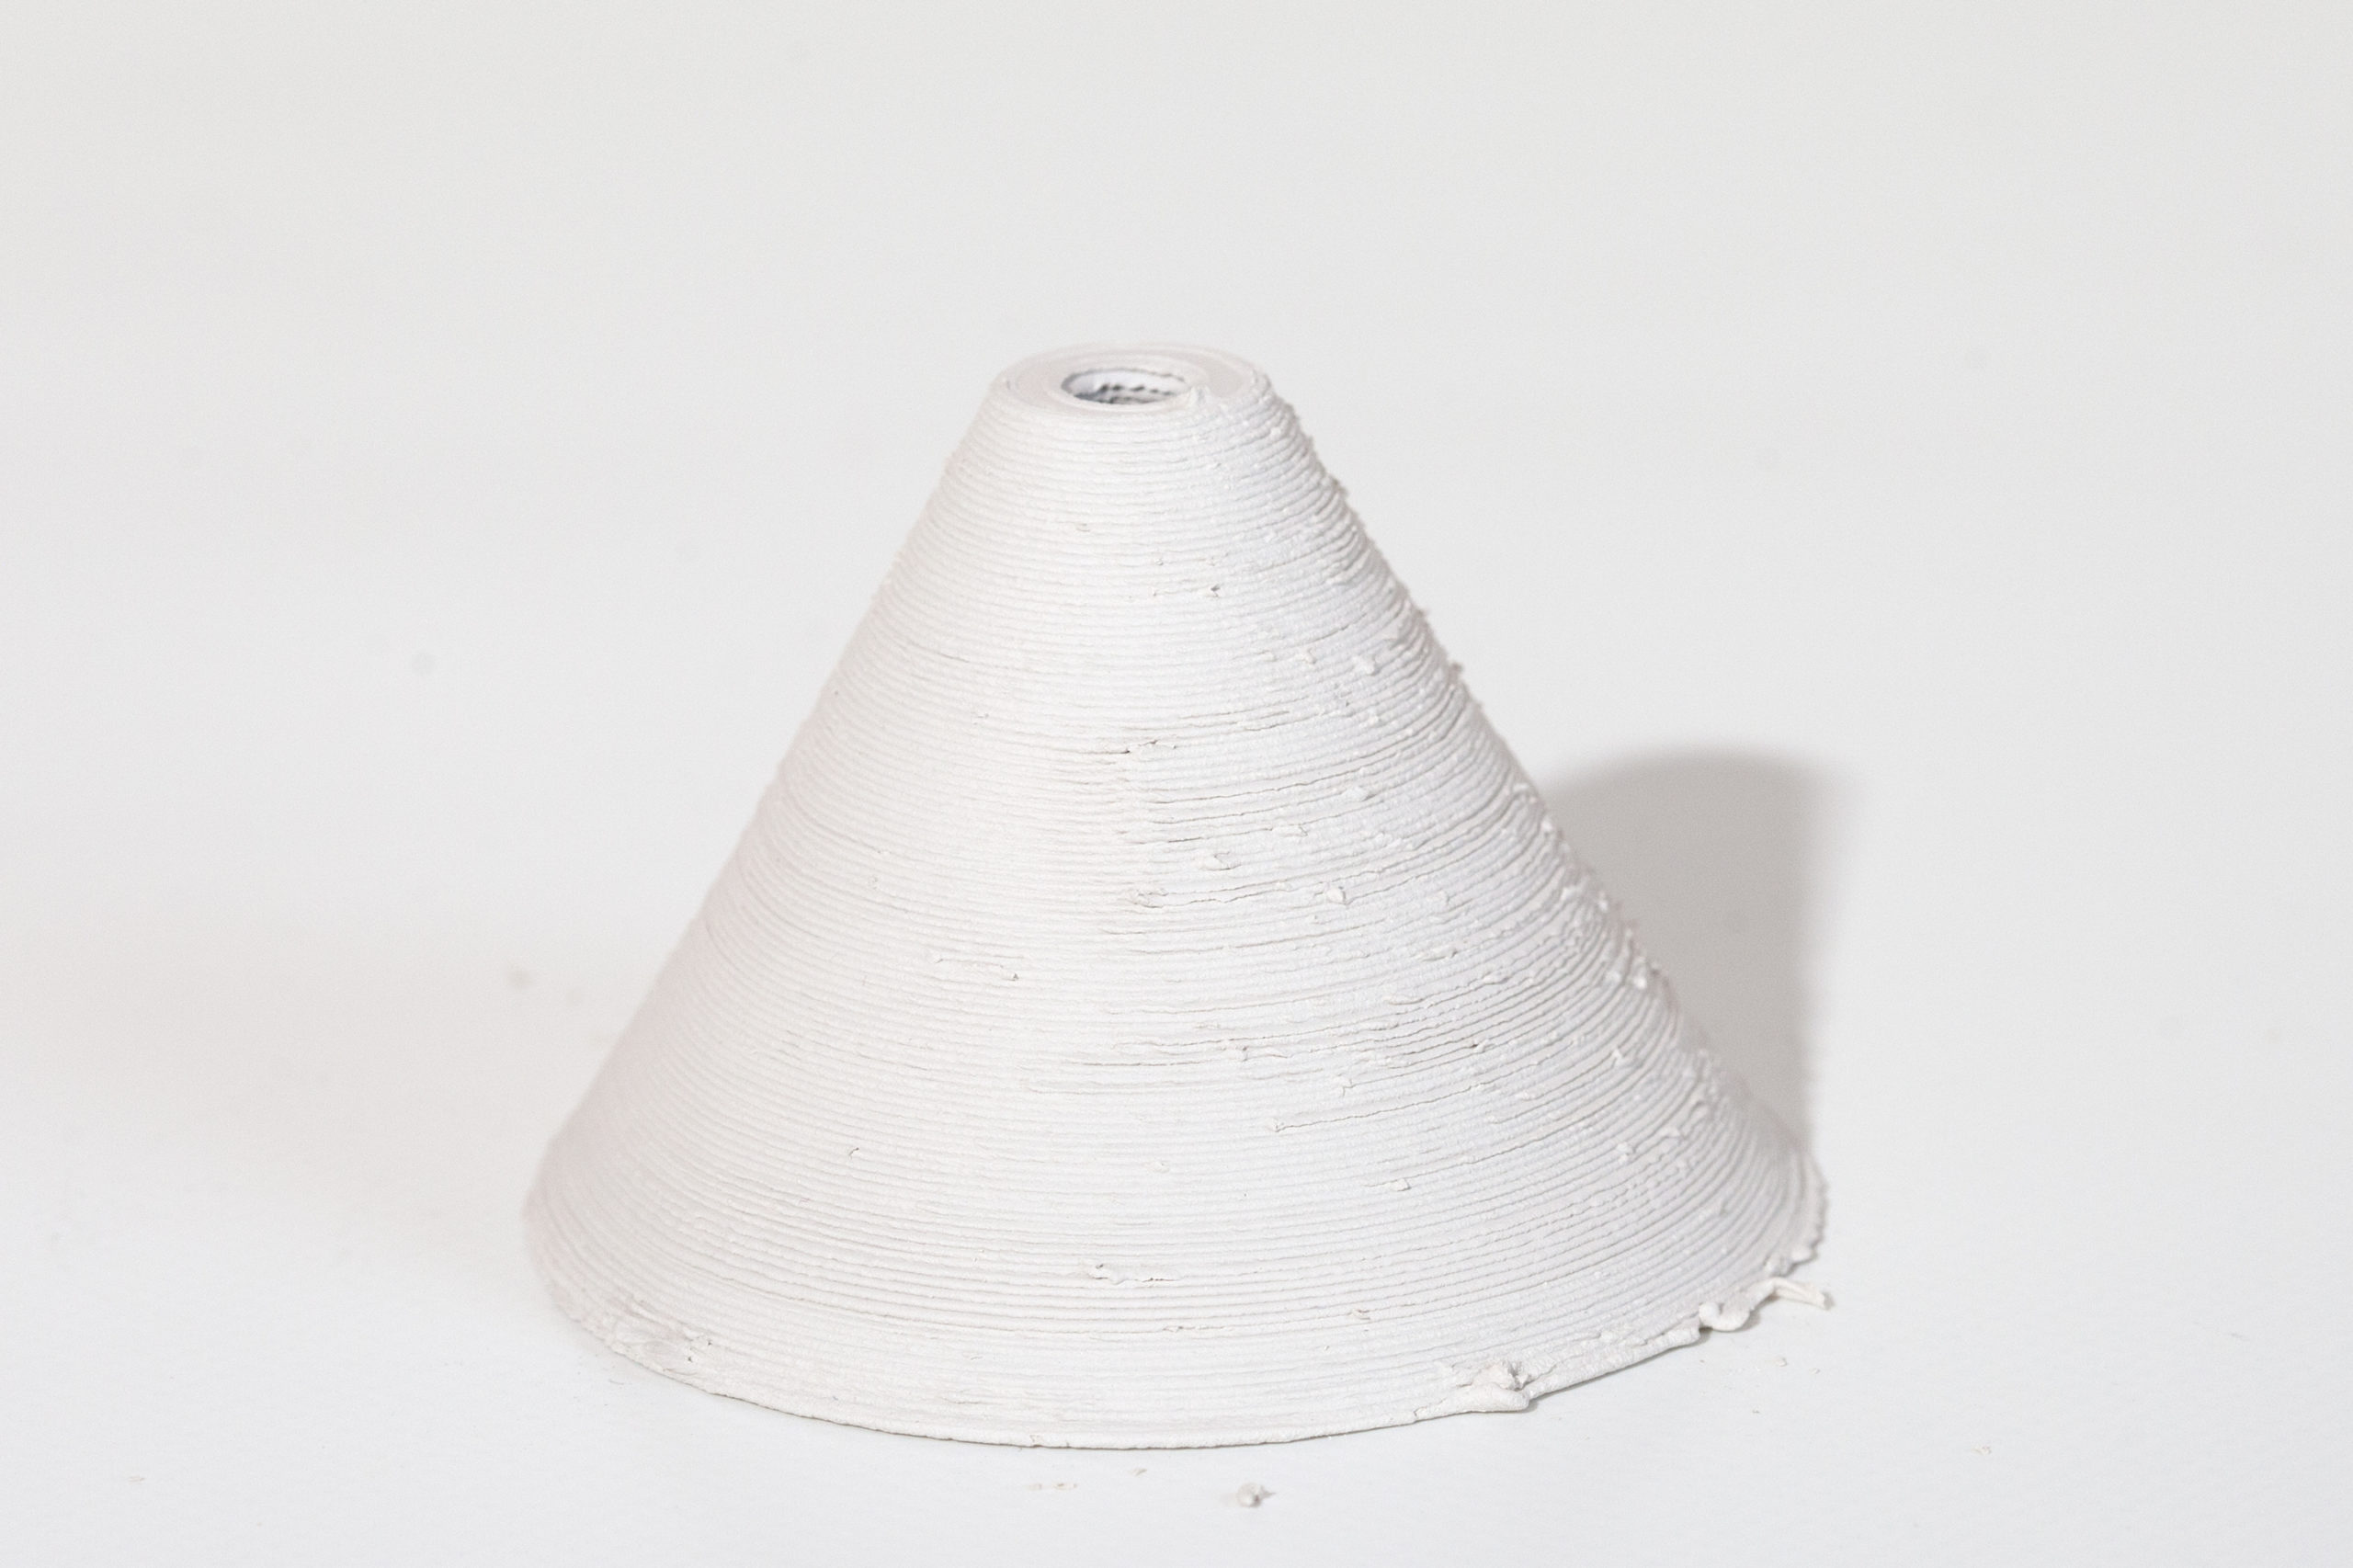
Cone w/ 40deg Tilt
“
13min – Near perfect finish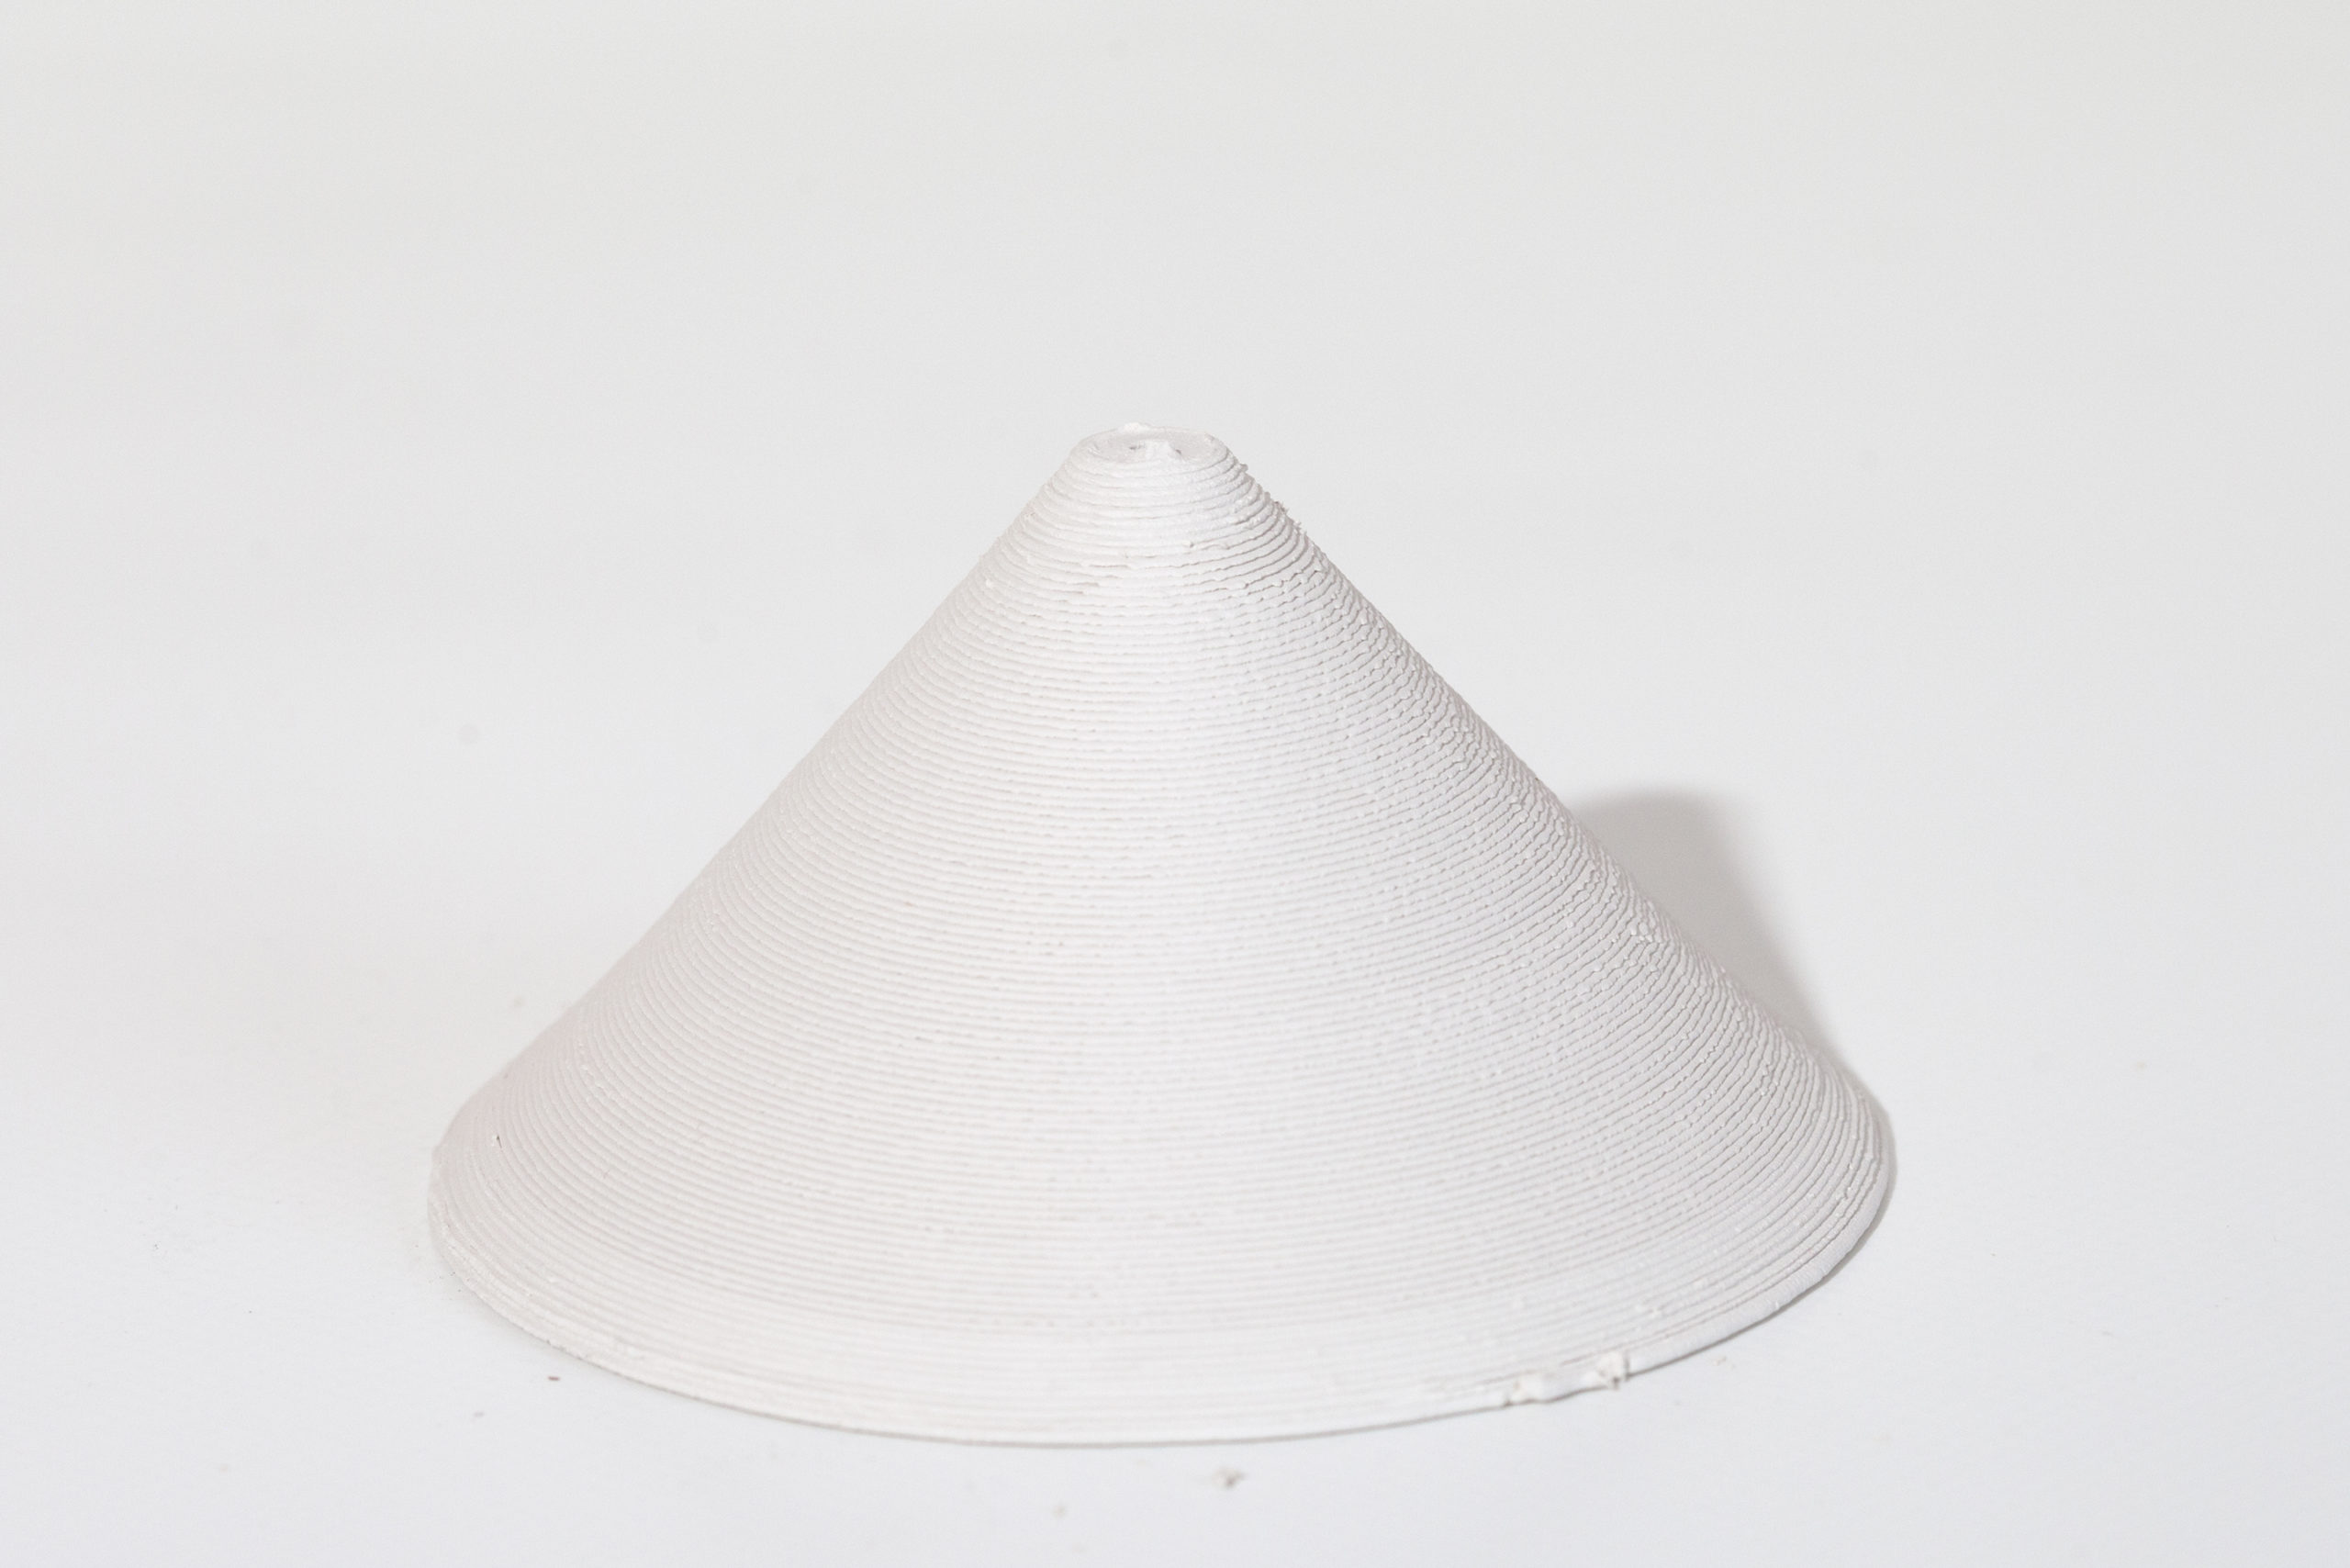
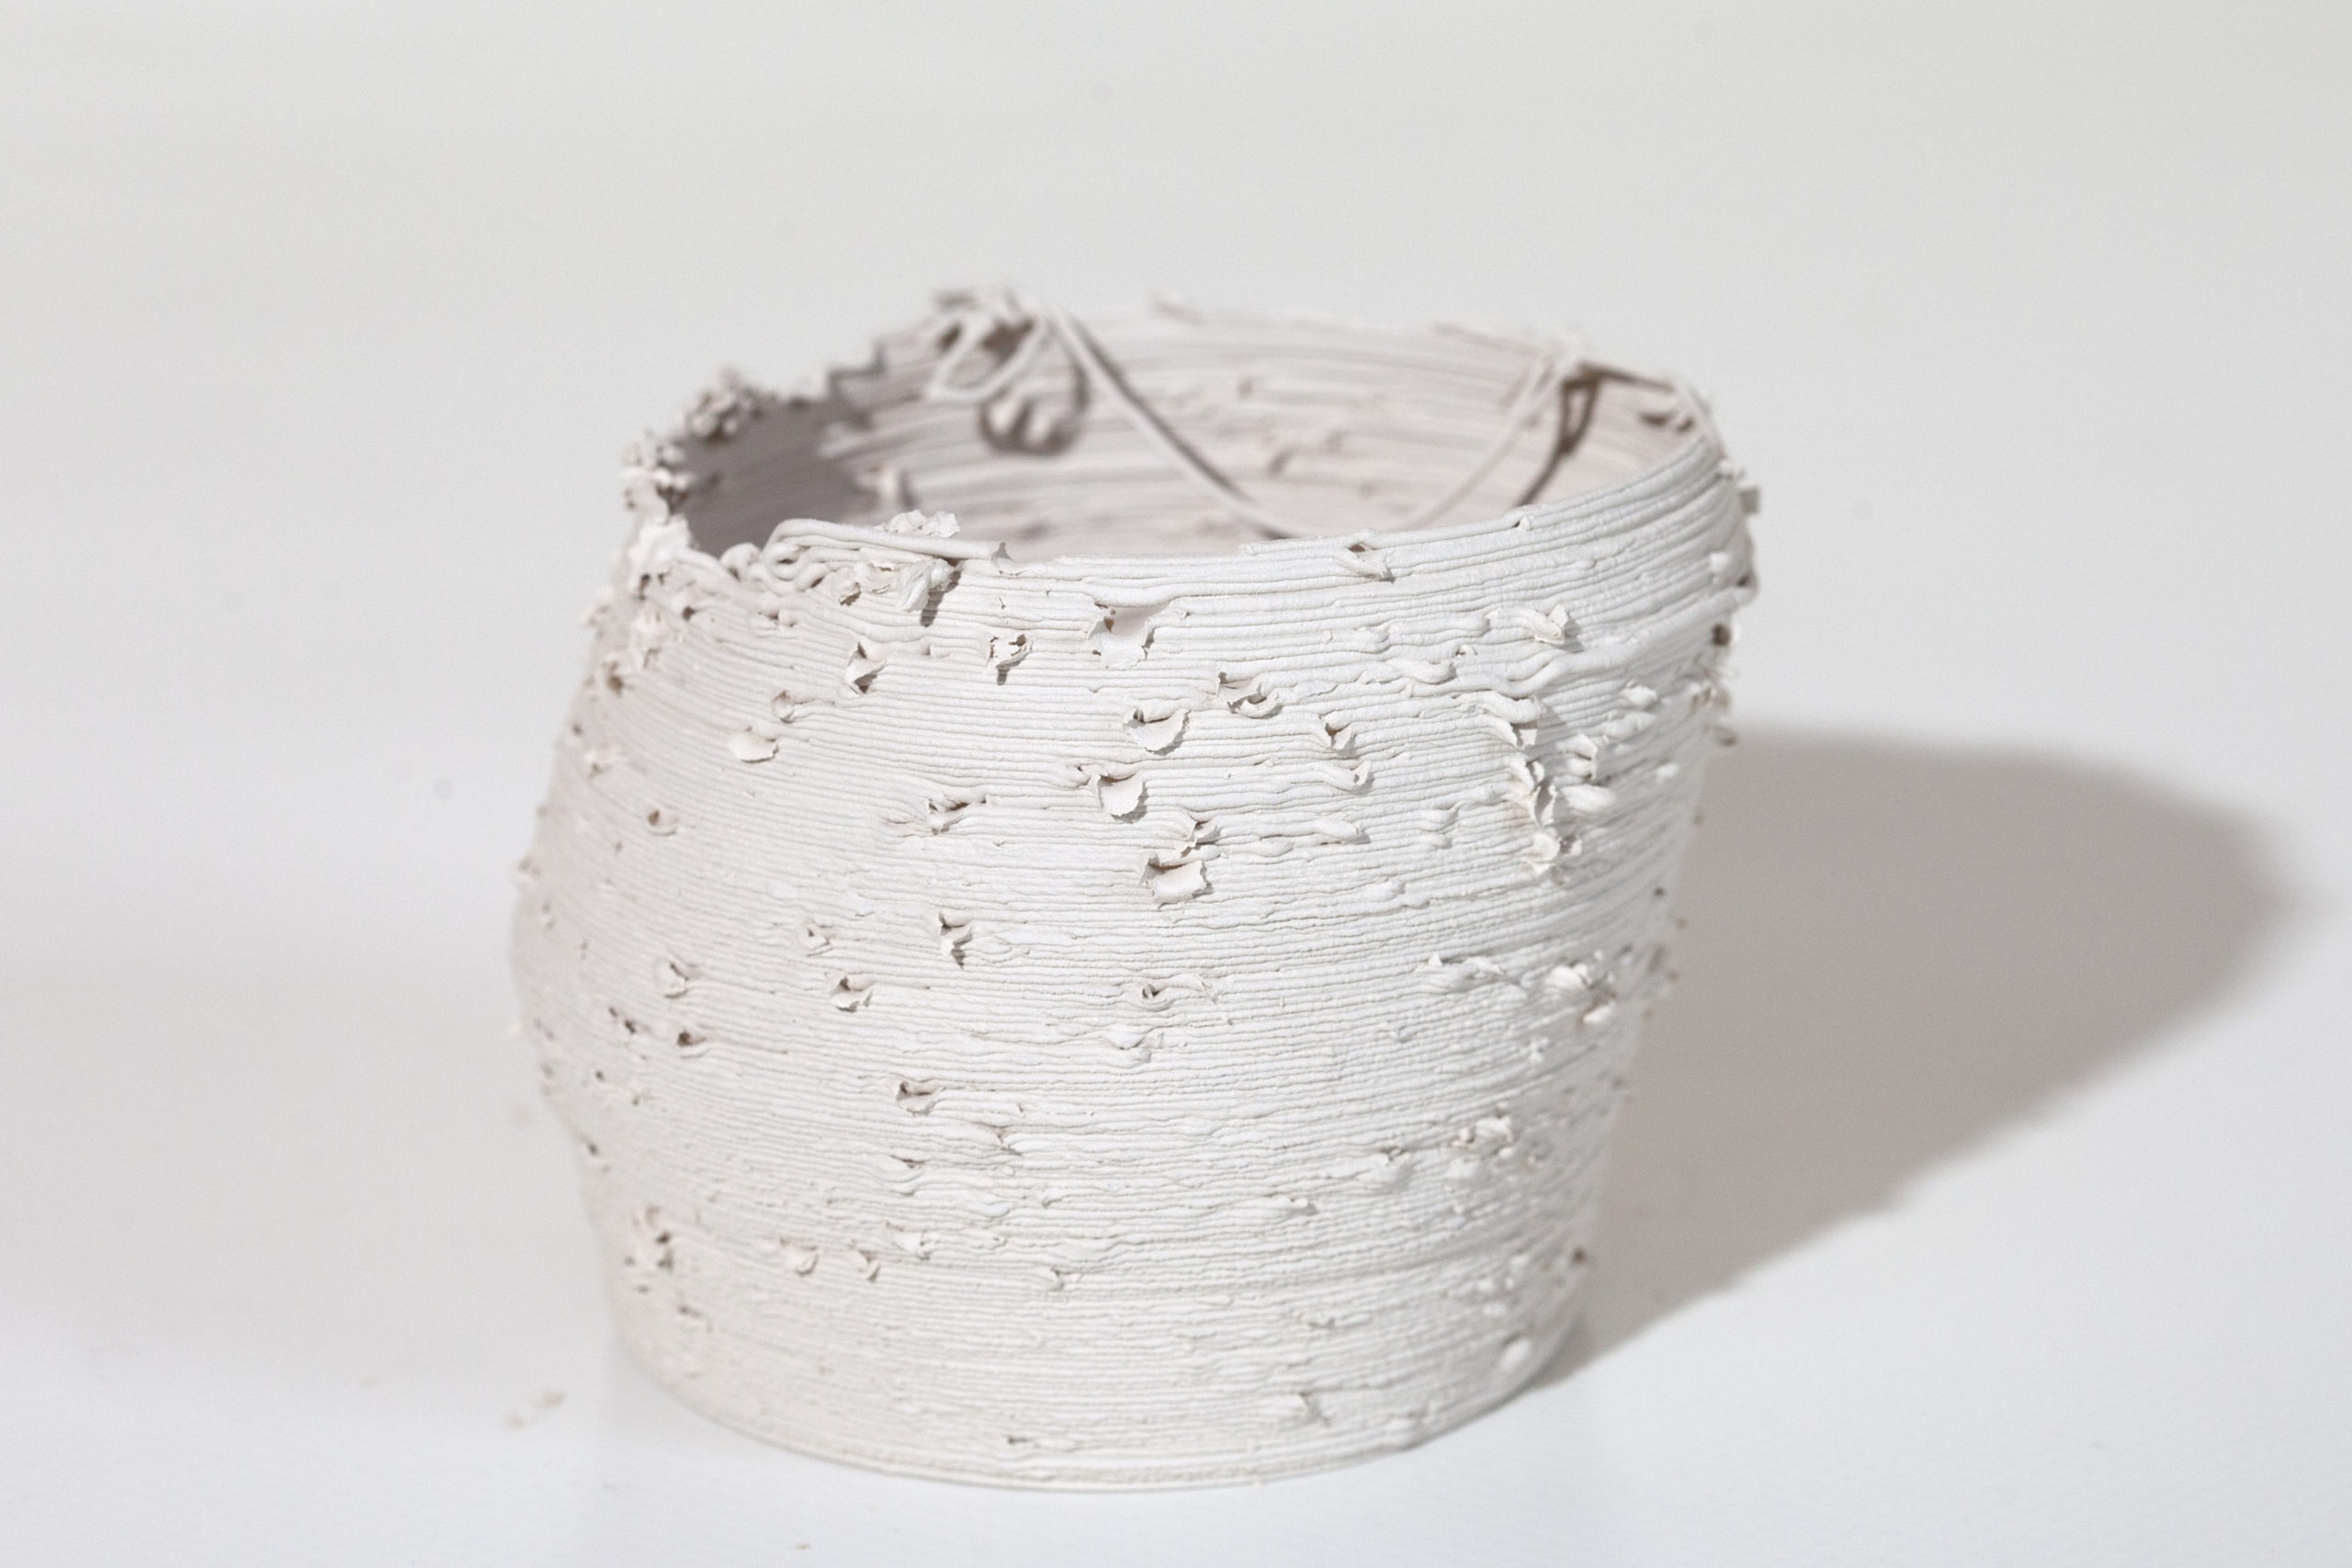
Cone w/ 50deg Tilt
50psi
14min – 1 major air bubble w/ full layer loss, but no collapse
beginnings of deformation during drying
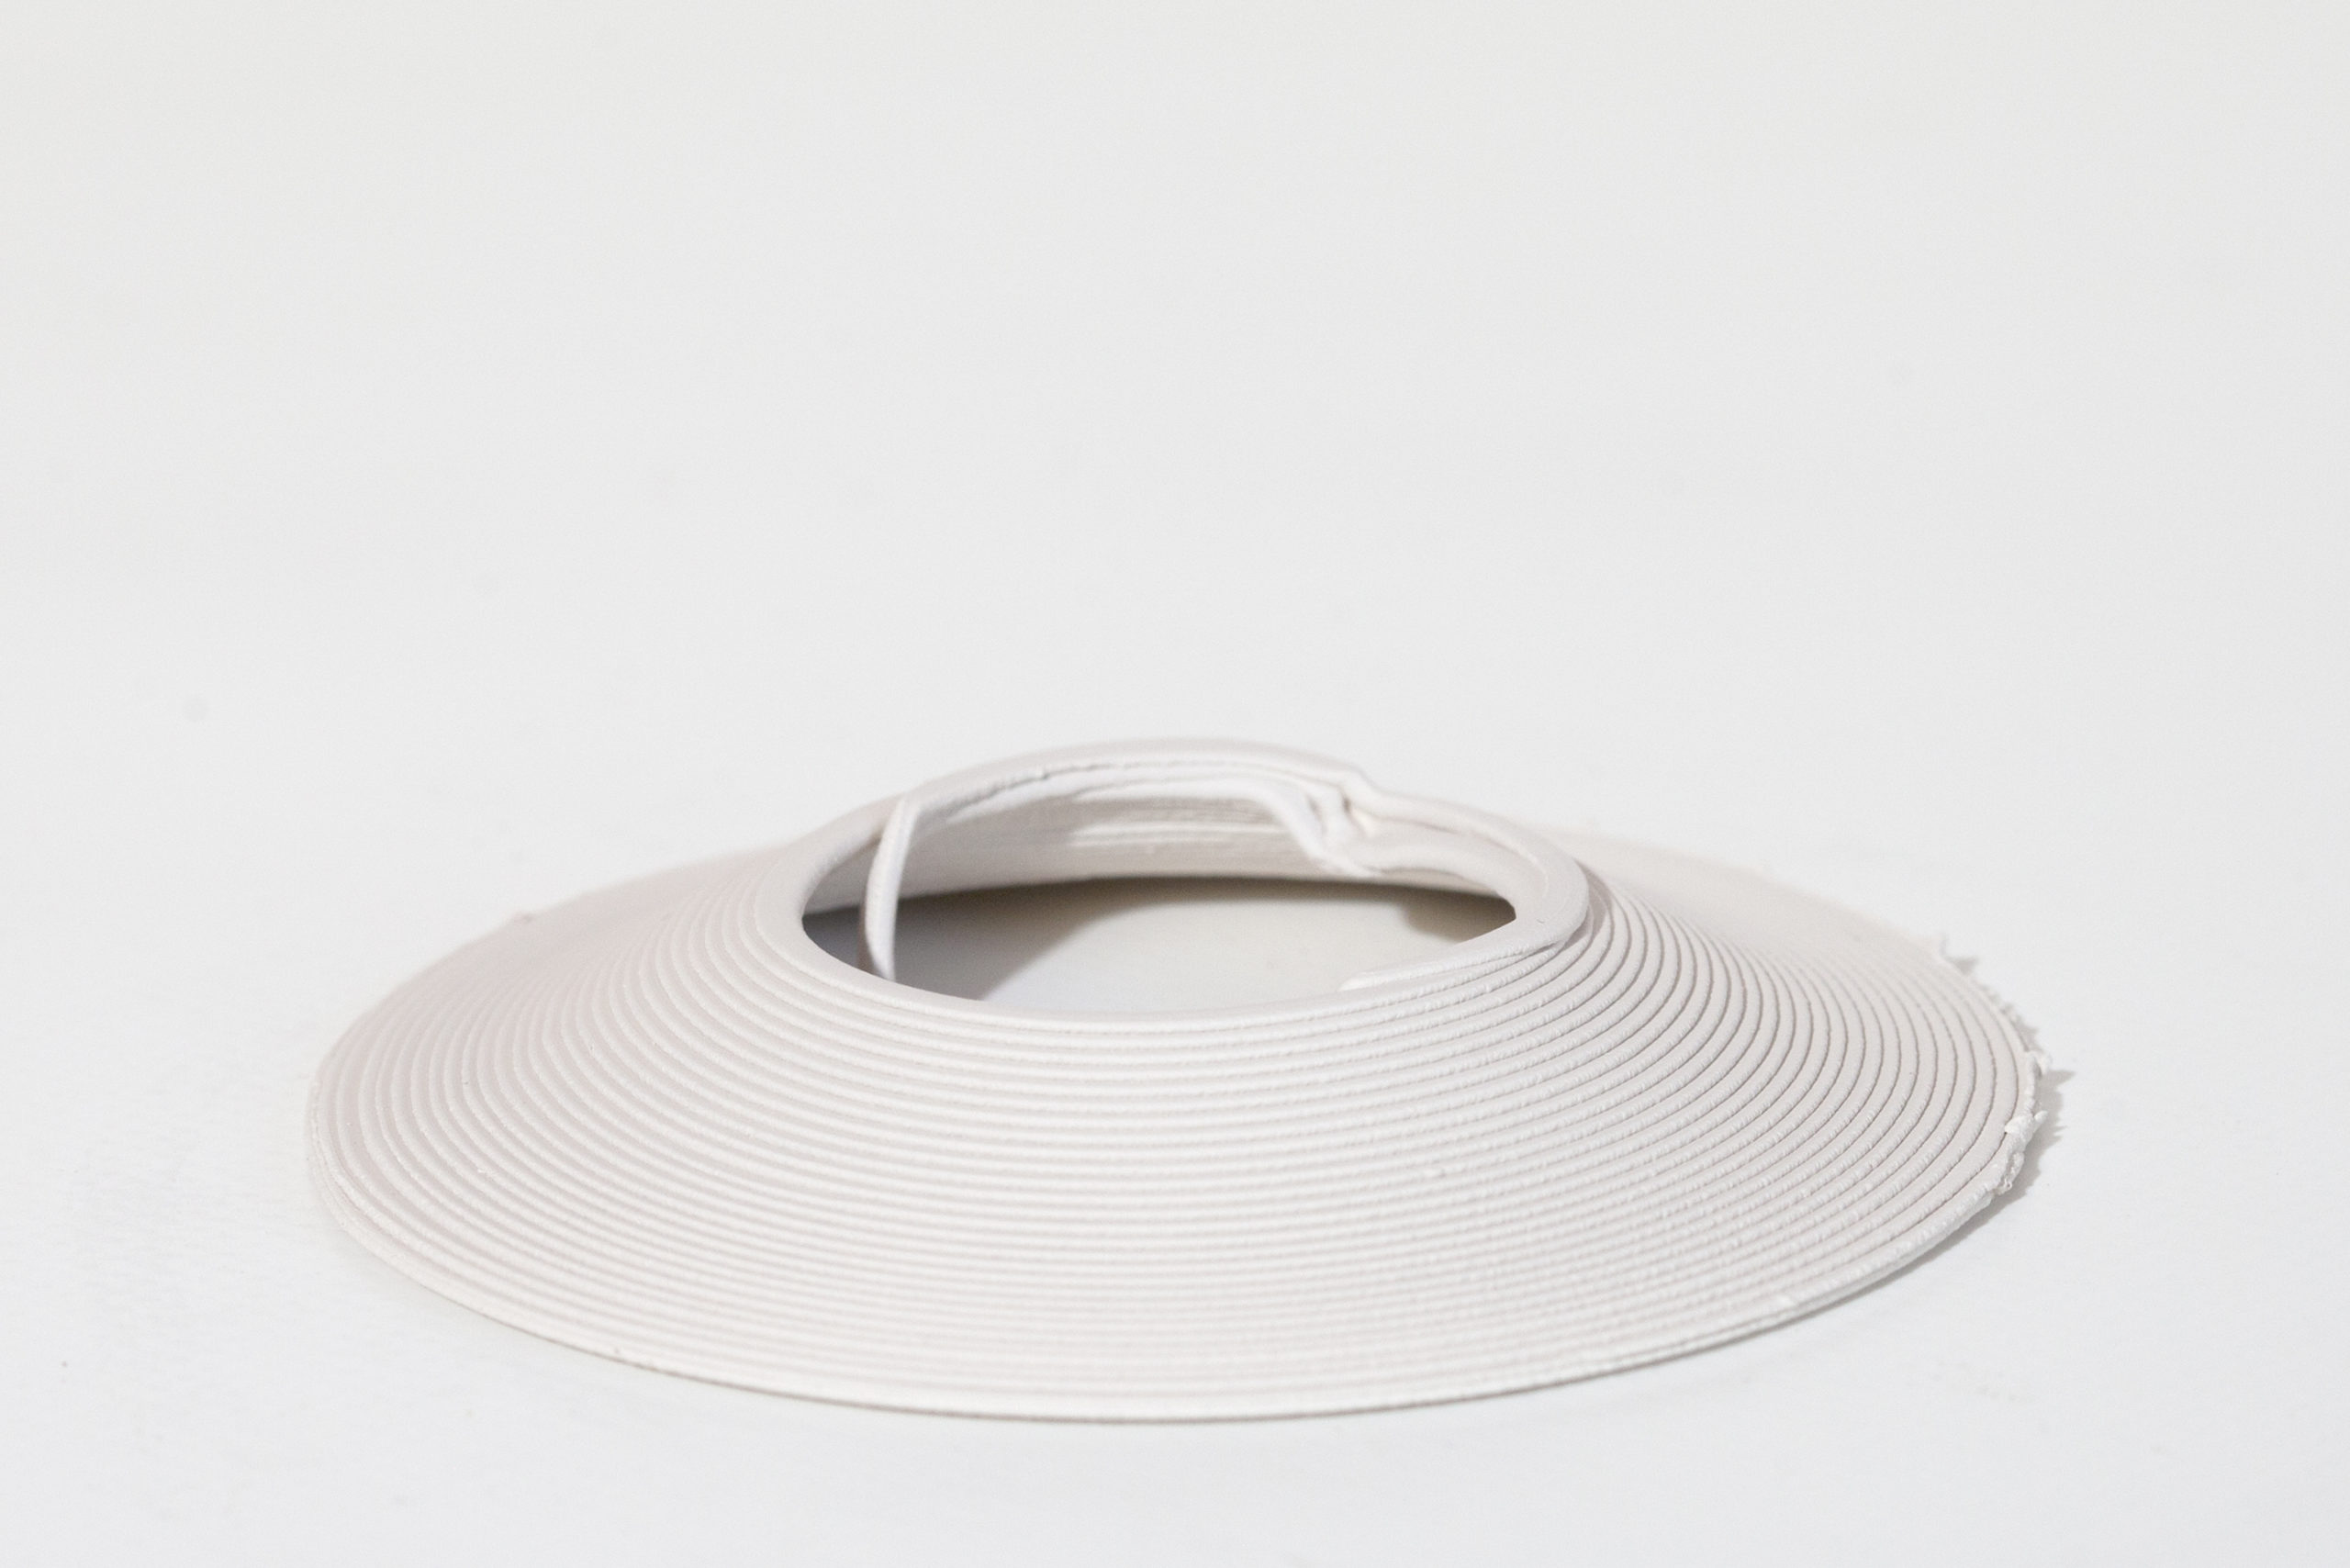
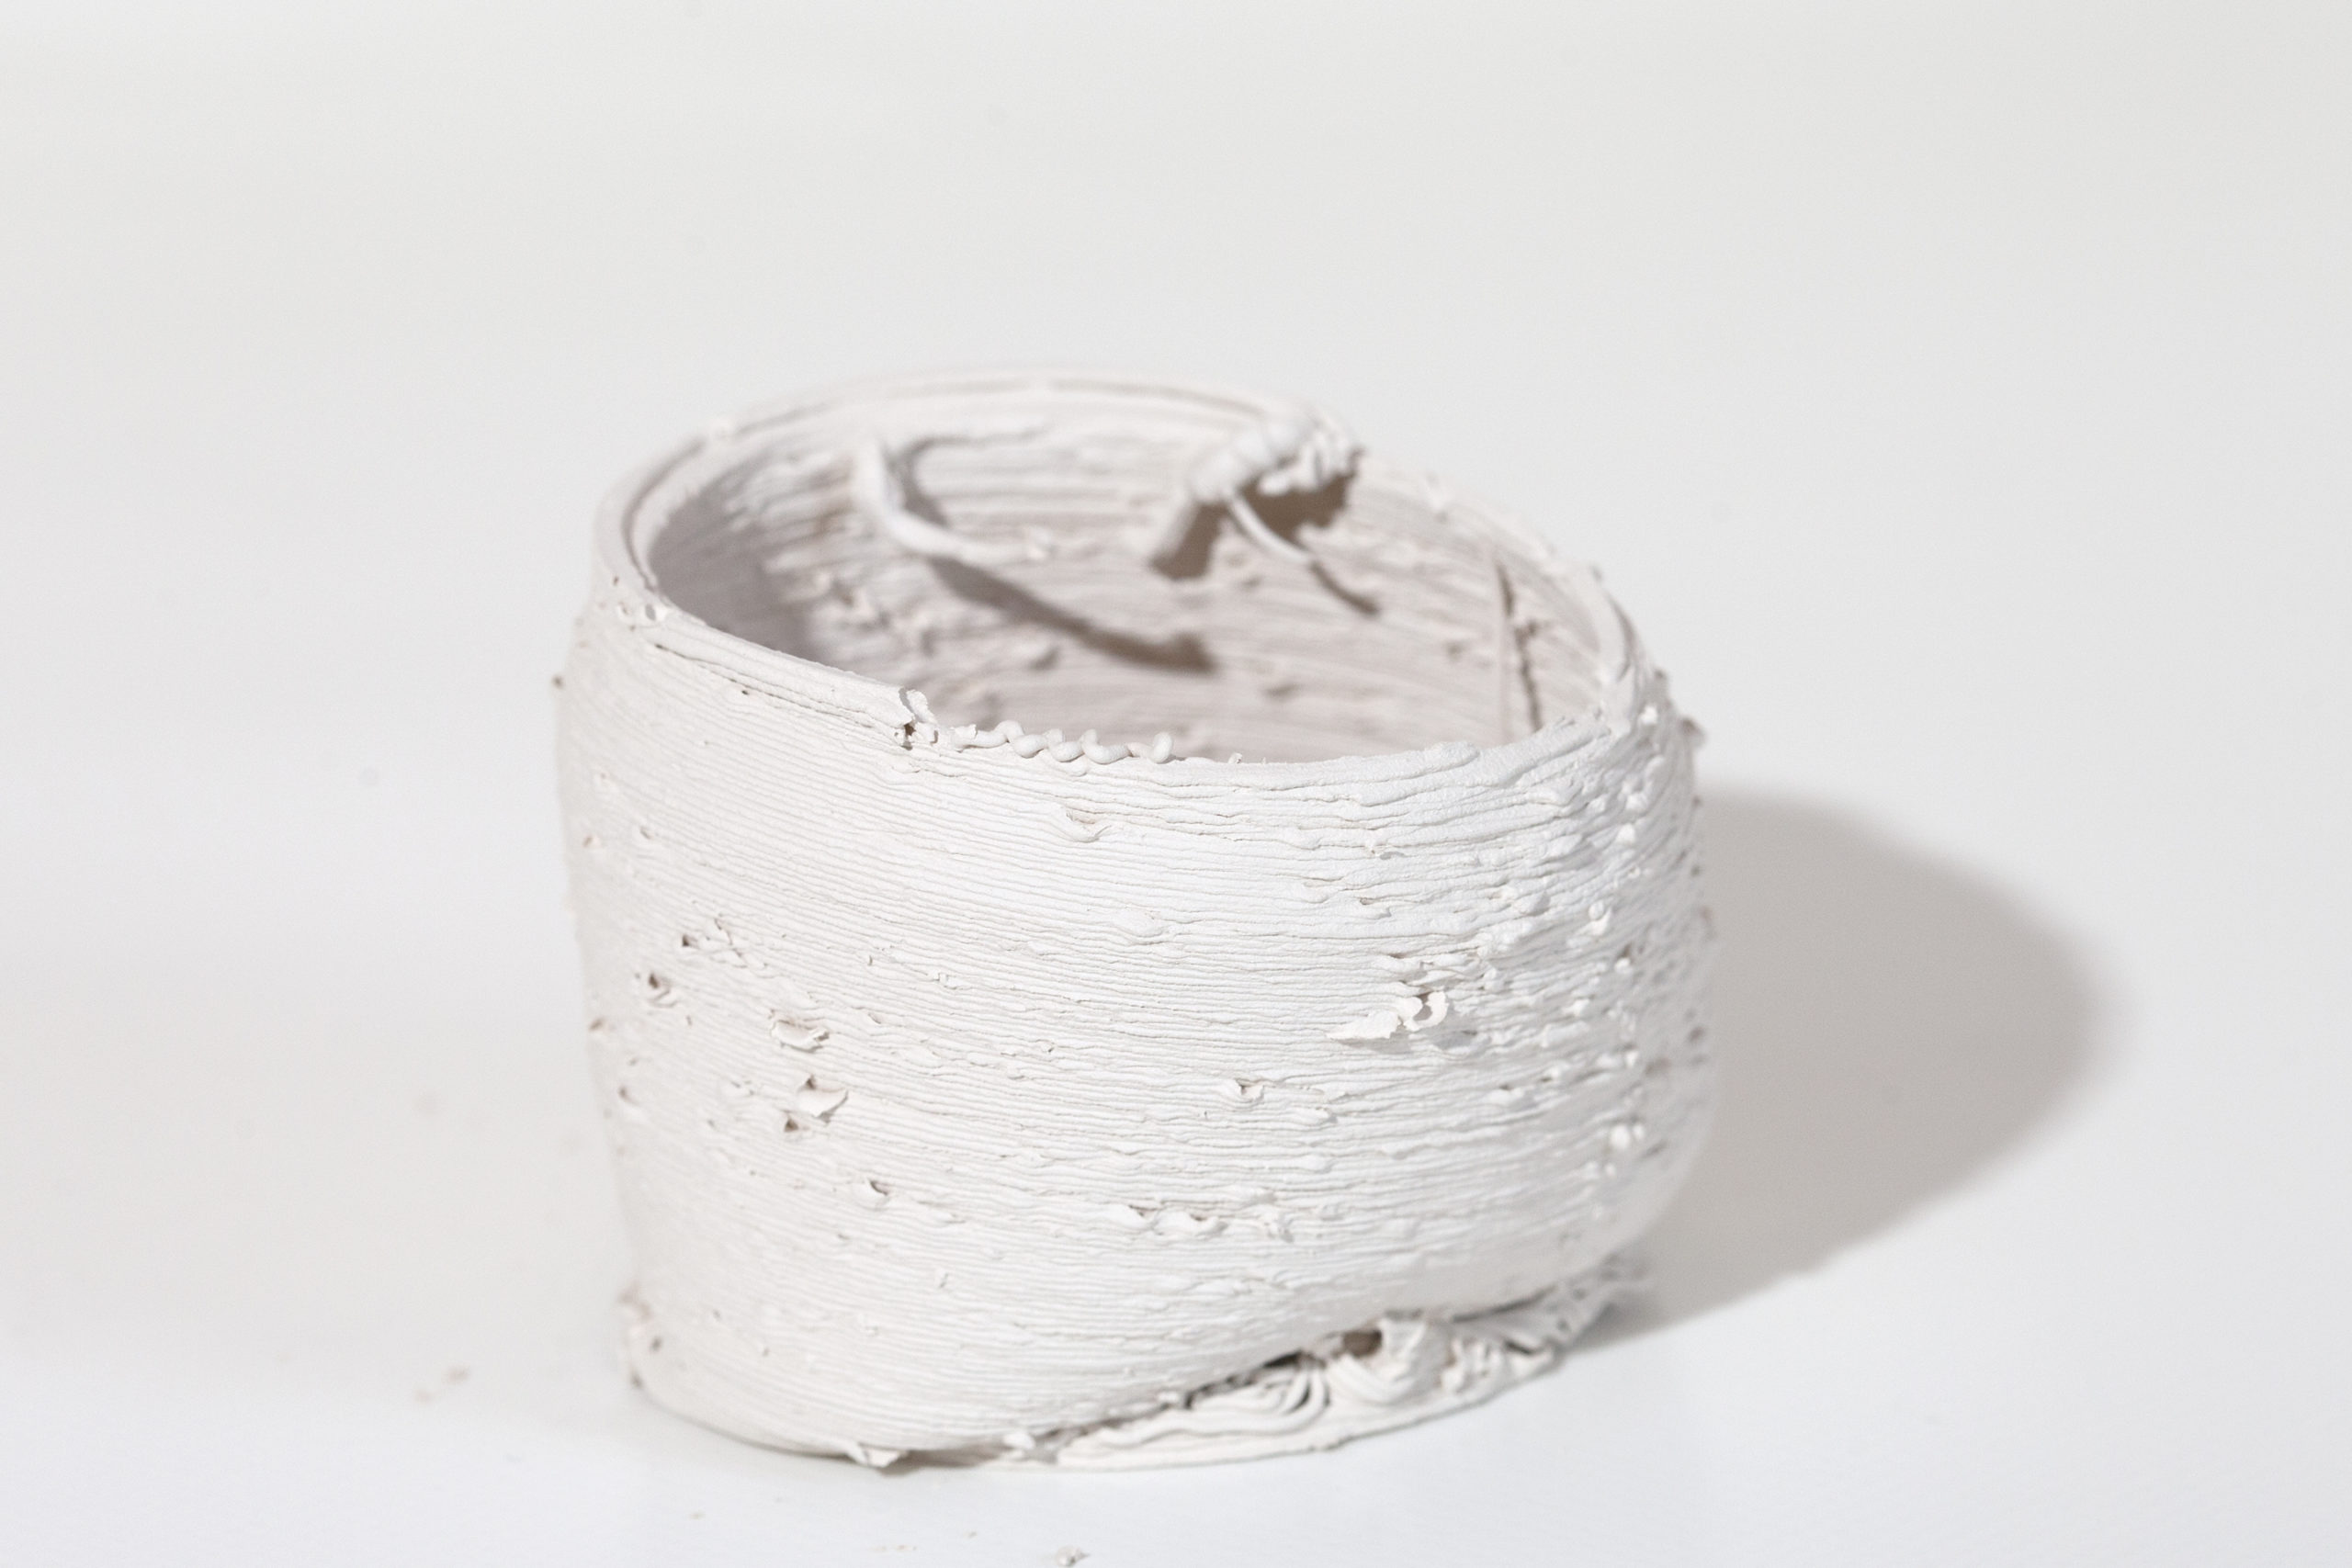
Cone w/ 60deg Tilt
50psi
5min, failure with deformation. Big air bubble with collapse, however recovered, just slump (also 2″ air gap in hose, no apparent result in print)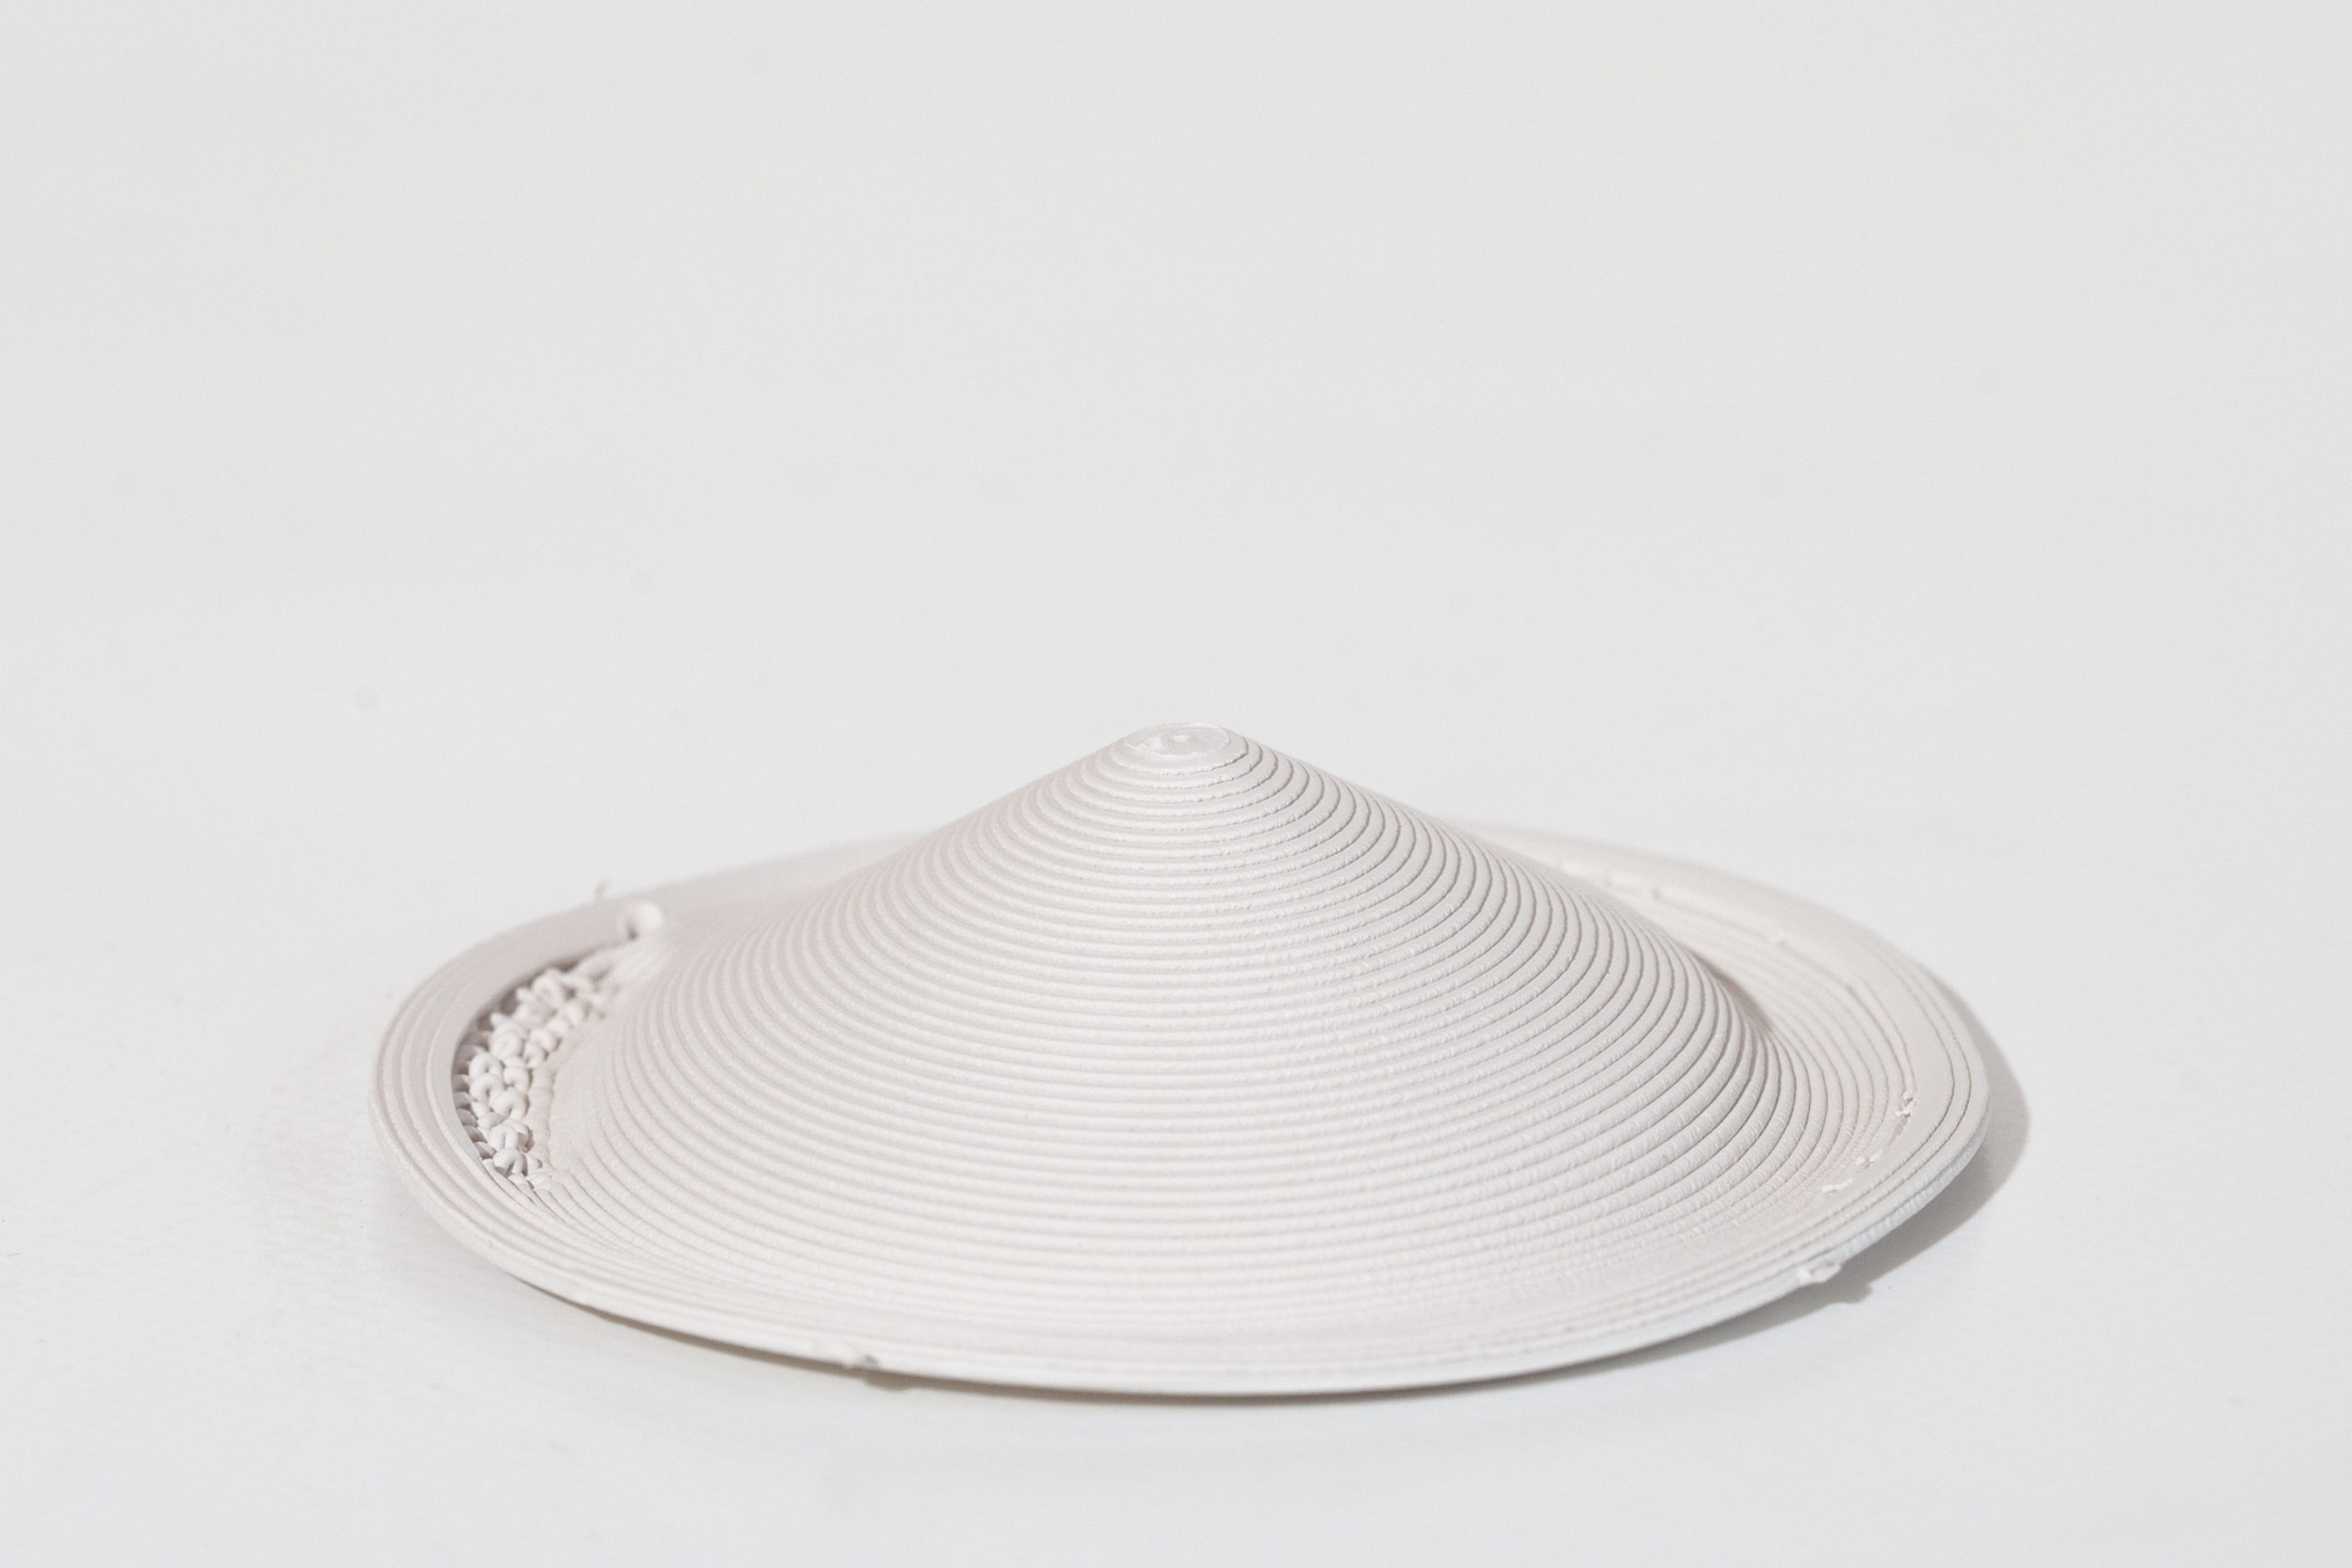
I tried this cone 3 times, with various slump problems. Tried a hair dryer to accelerate drying as its coming out, however lightweight nature of the clipboard bucks, piece moved during print.
60 degree maybe too much, though it looks like with some fussing it might come out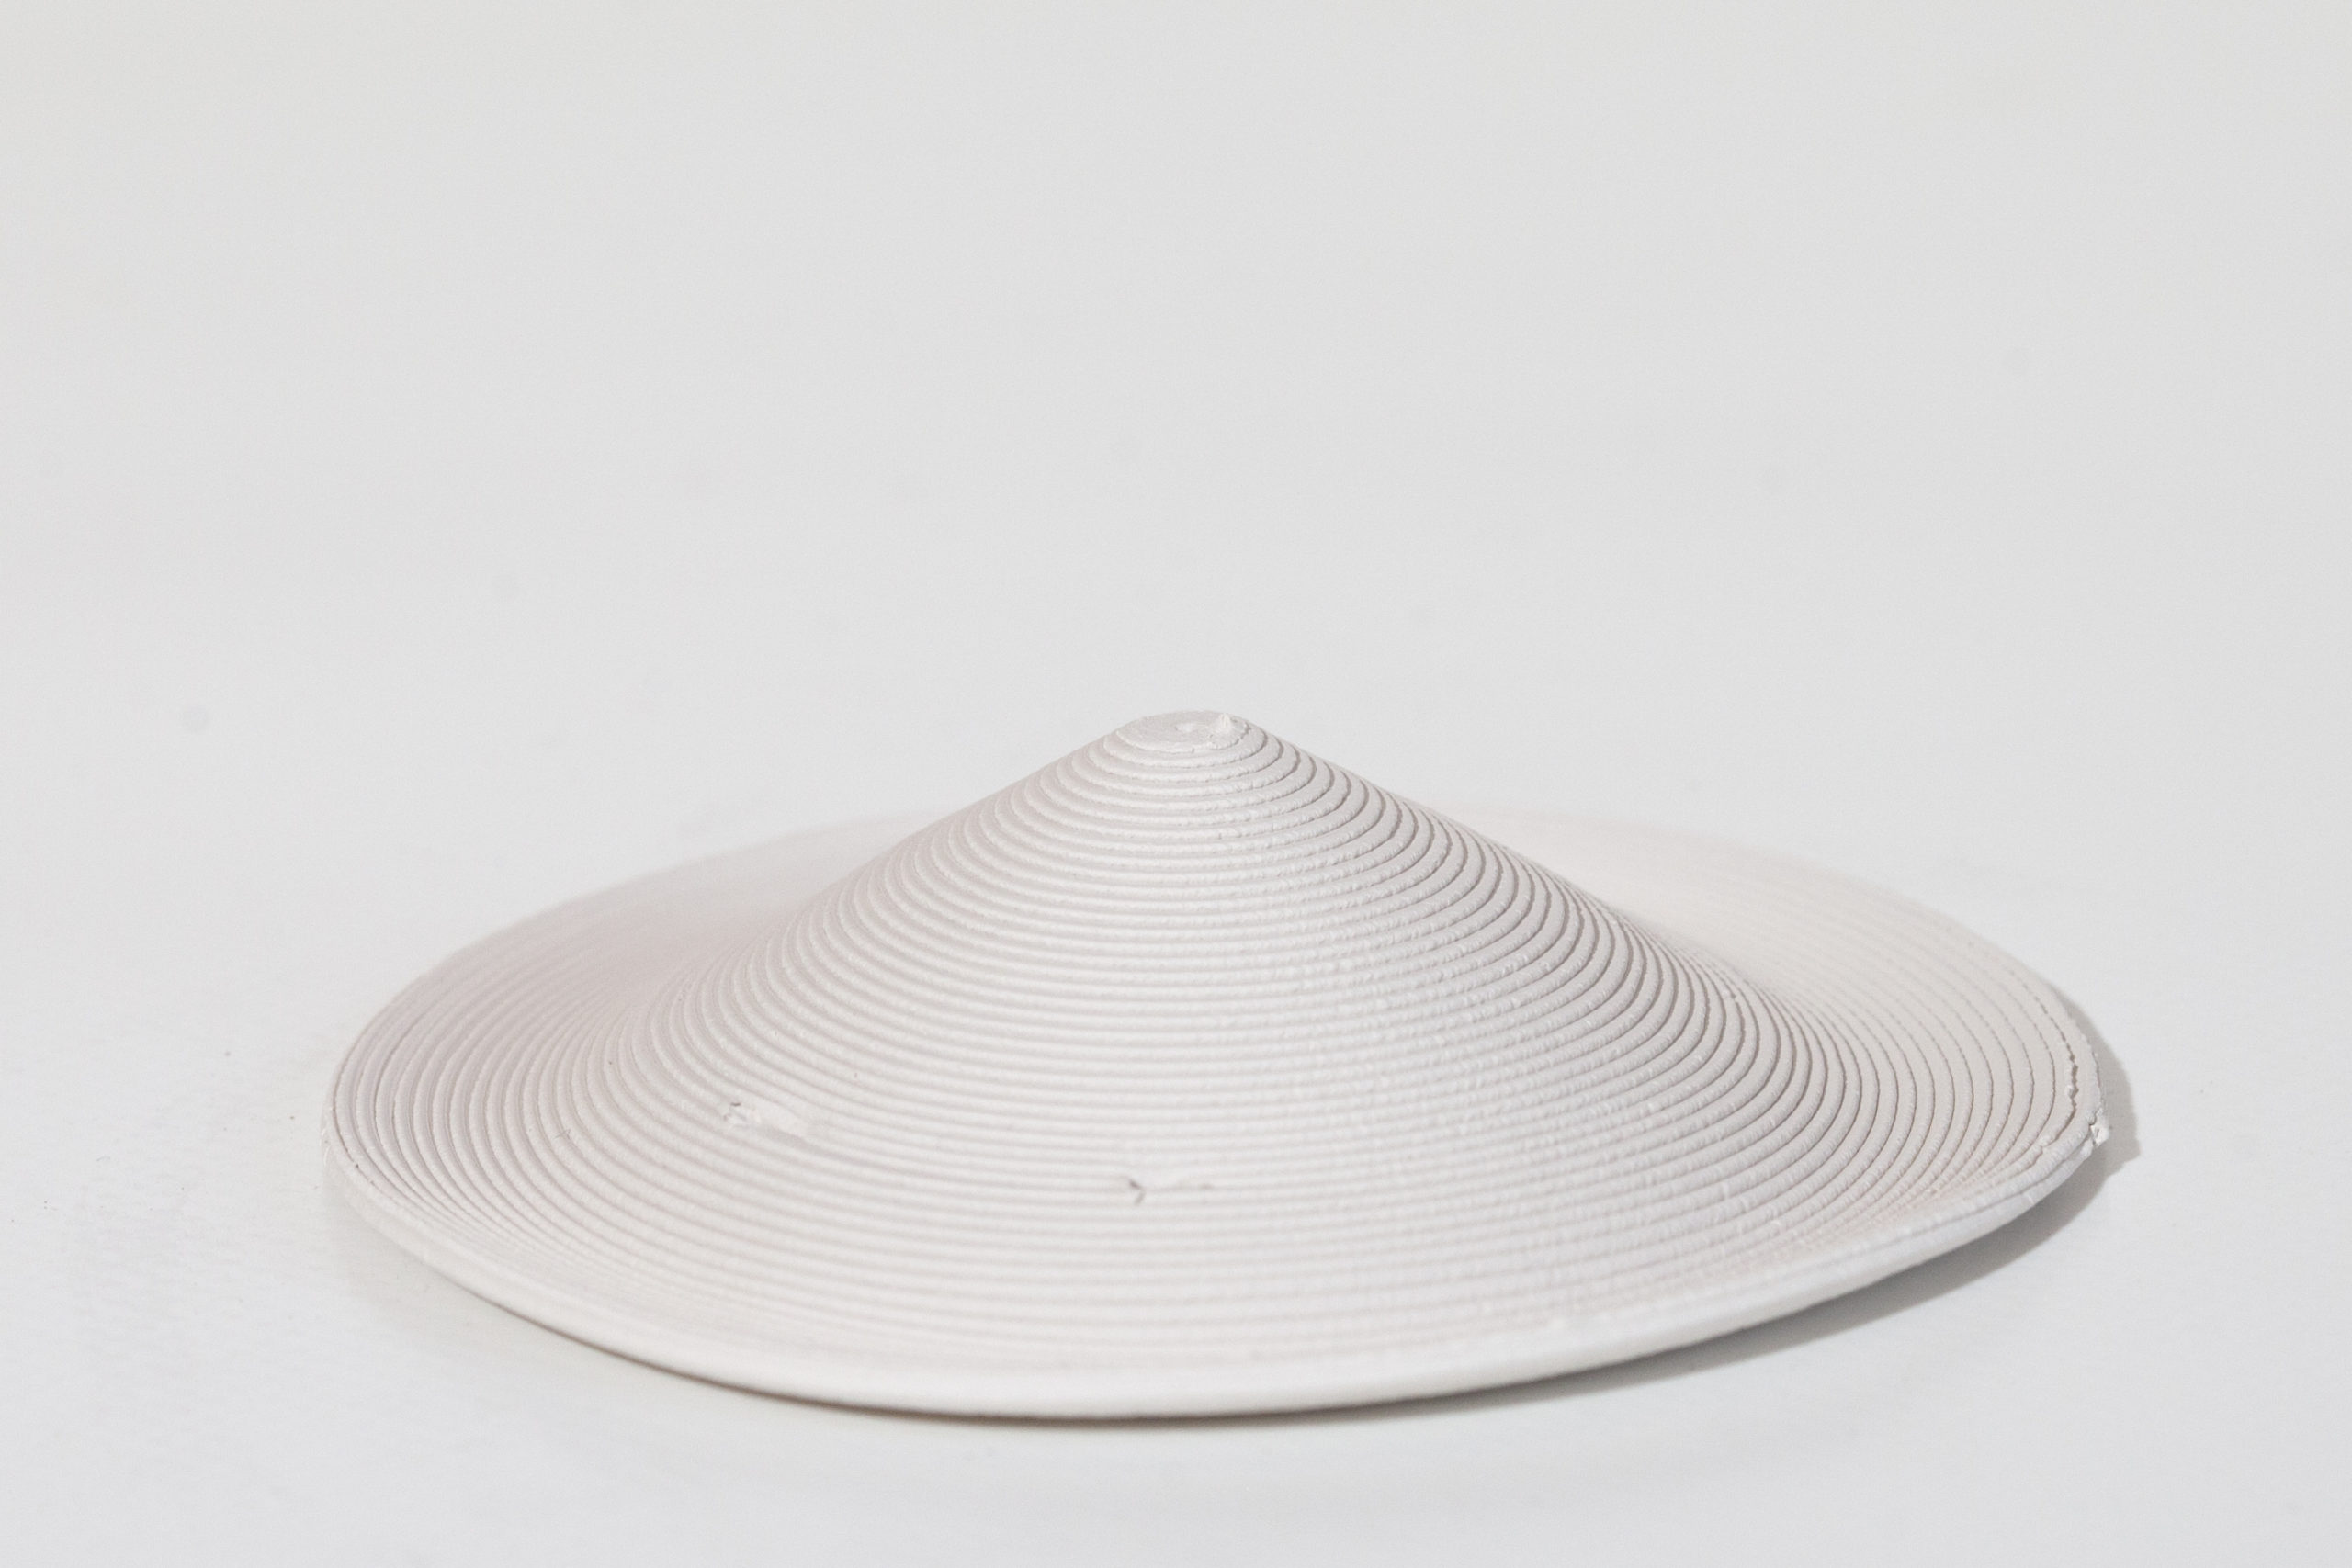
-
9/3 – Cone Tests
-
9/2 – First Tests
1-3
I attempted to print a vessel shape that I designed back in 2017. Clearly a little overconfident. This part leans, and is asymmetric, which was not great for a first test.
These first three tests were run to about 50% but all were “failures”
Printing at 4 bar, spiral single-wall
While these look terrible and have lots of air bubbles present, disrupting the surface, they were the first prints to build any clay at all, so they are saved here for posterity.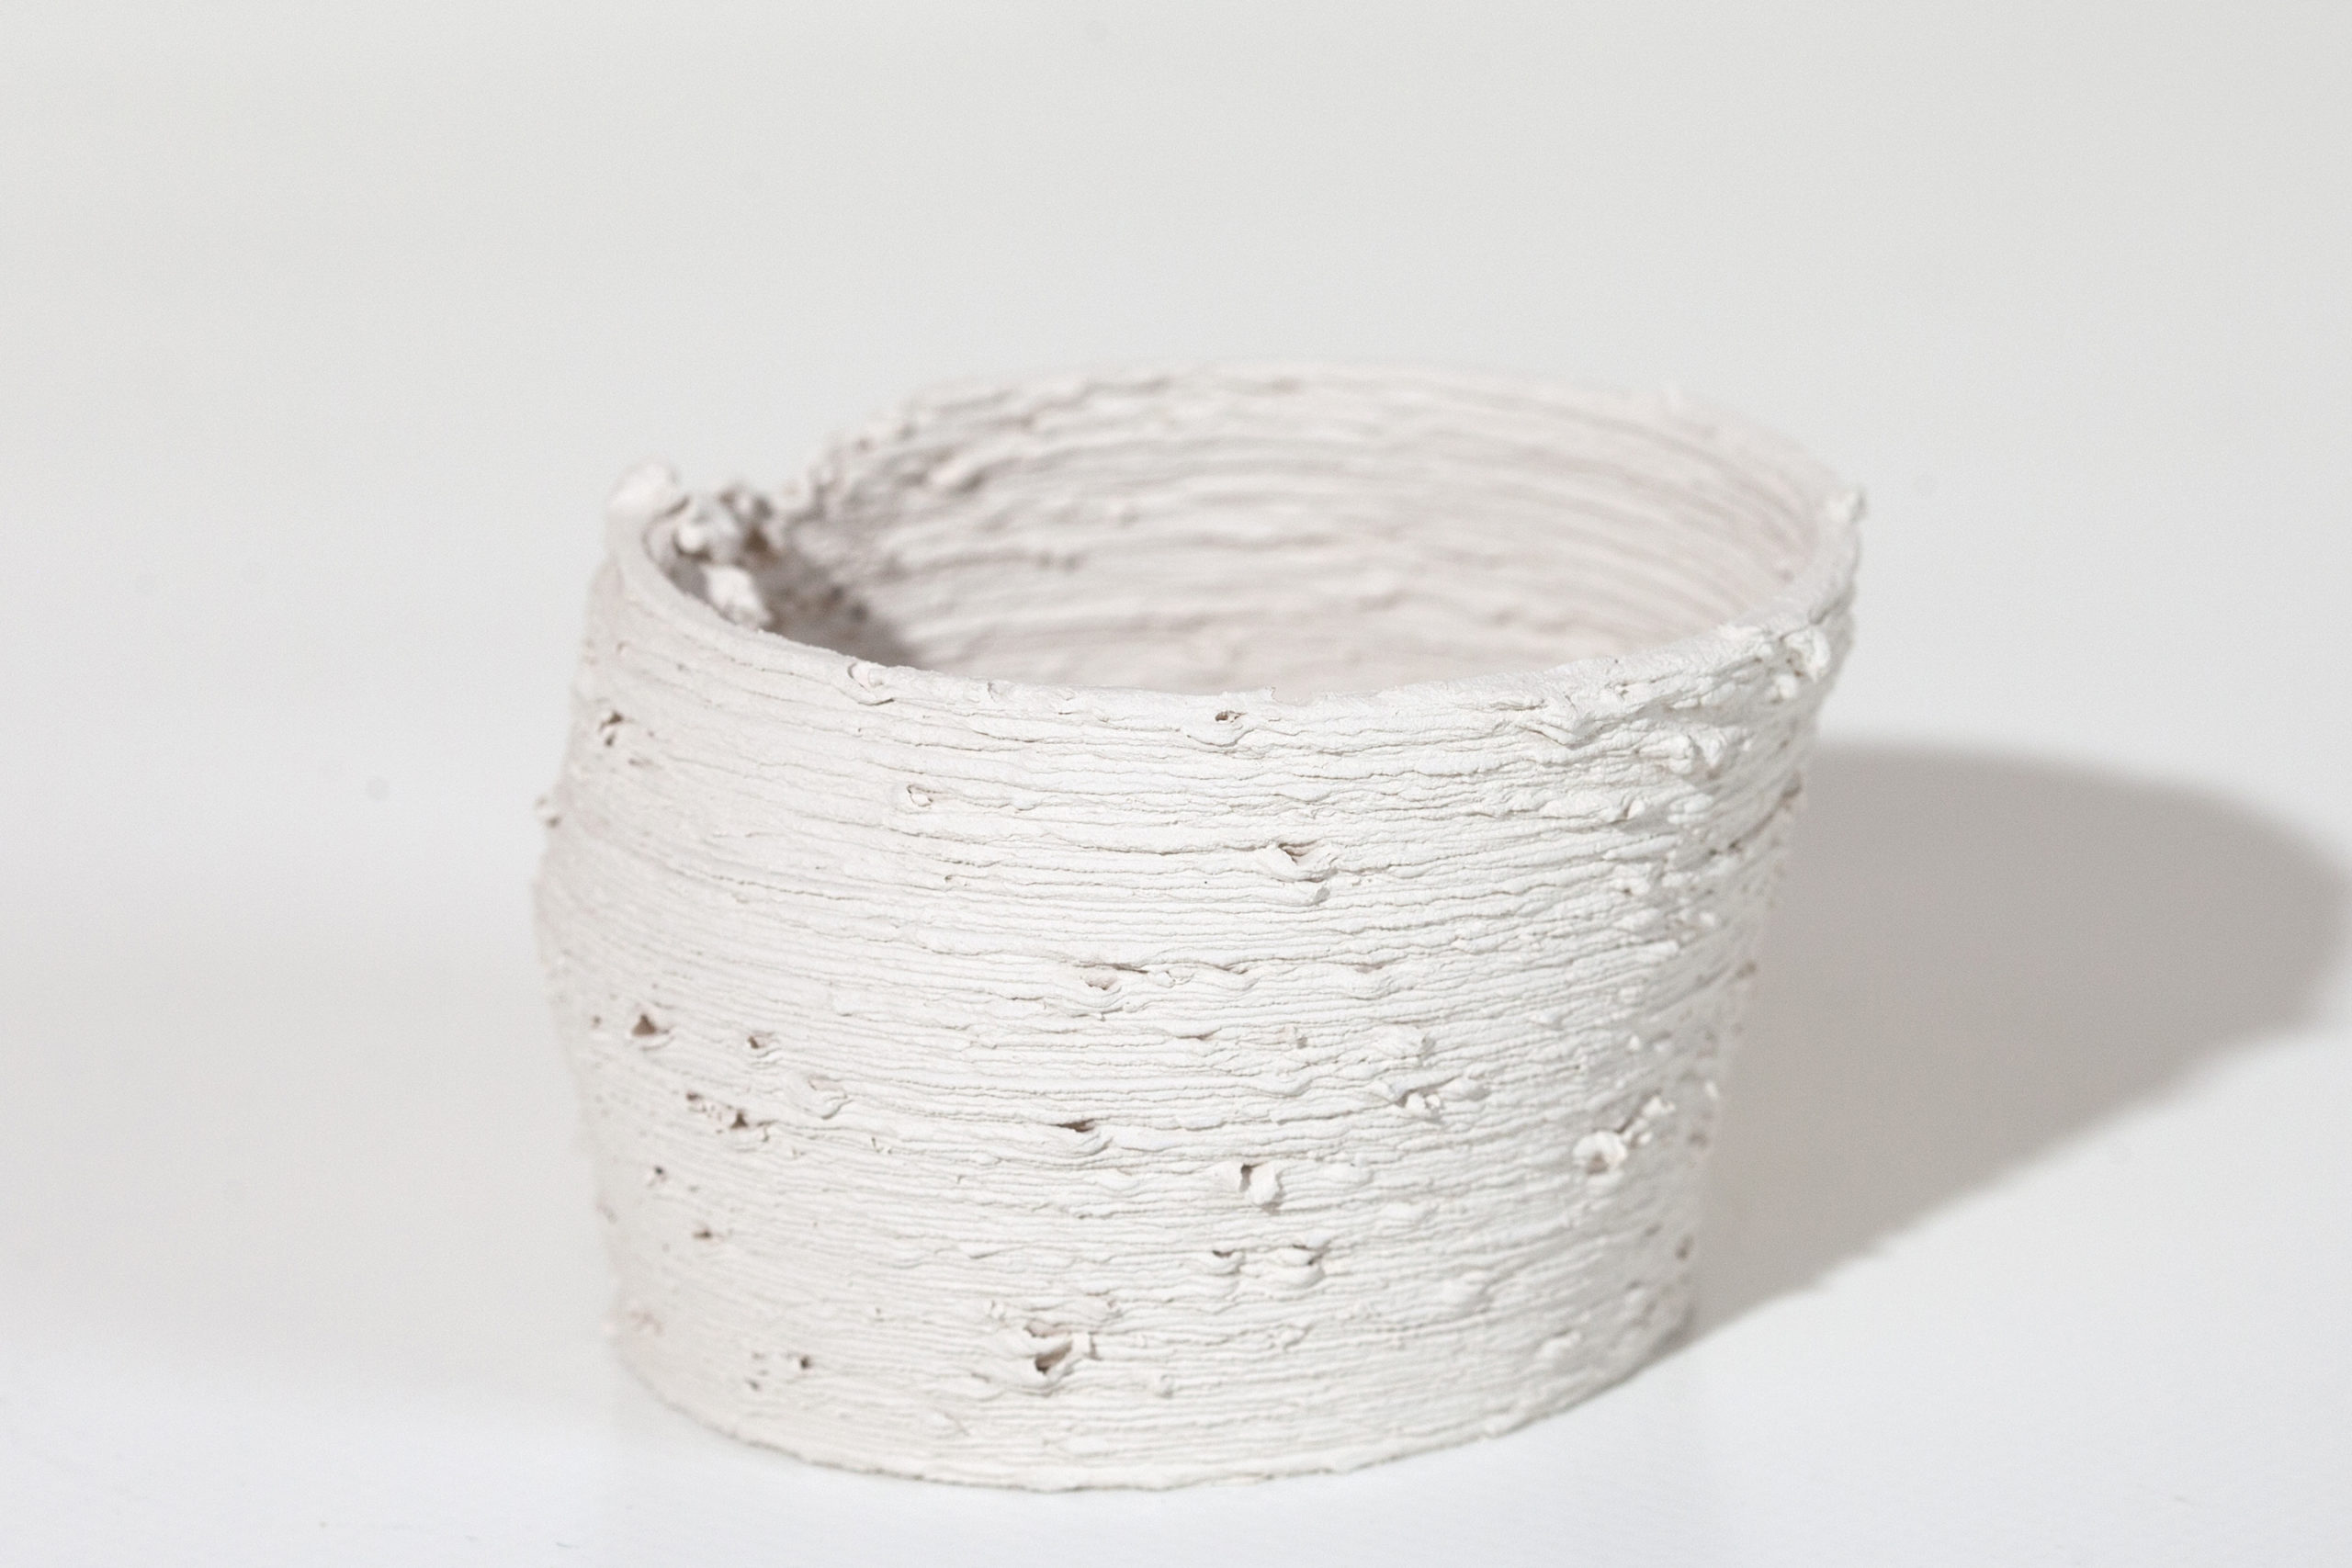
4-5
Again try same shape, but even worse, failing within 10% (10mm)
Printing at 3.5 bar, not enough pressure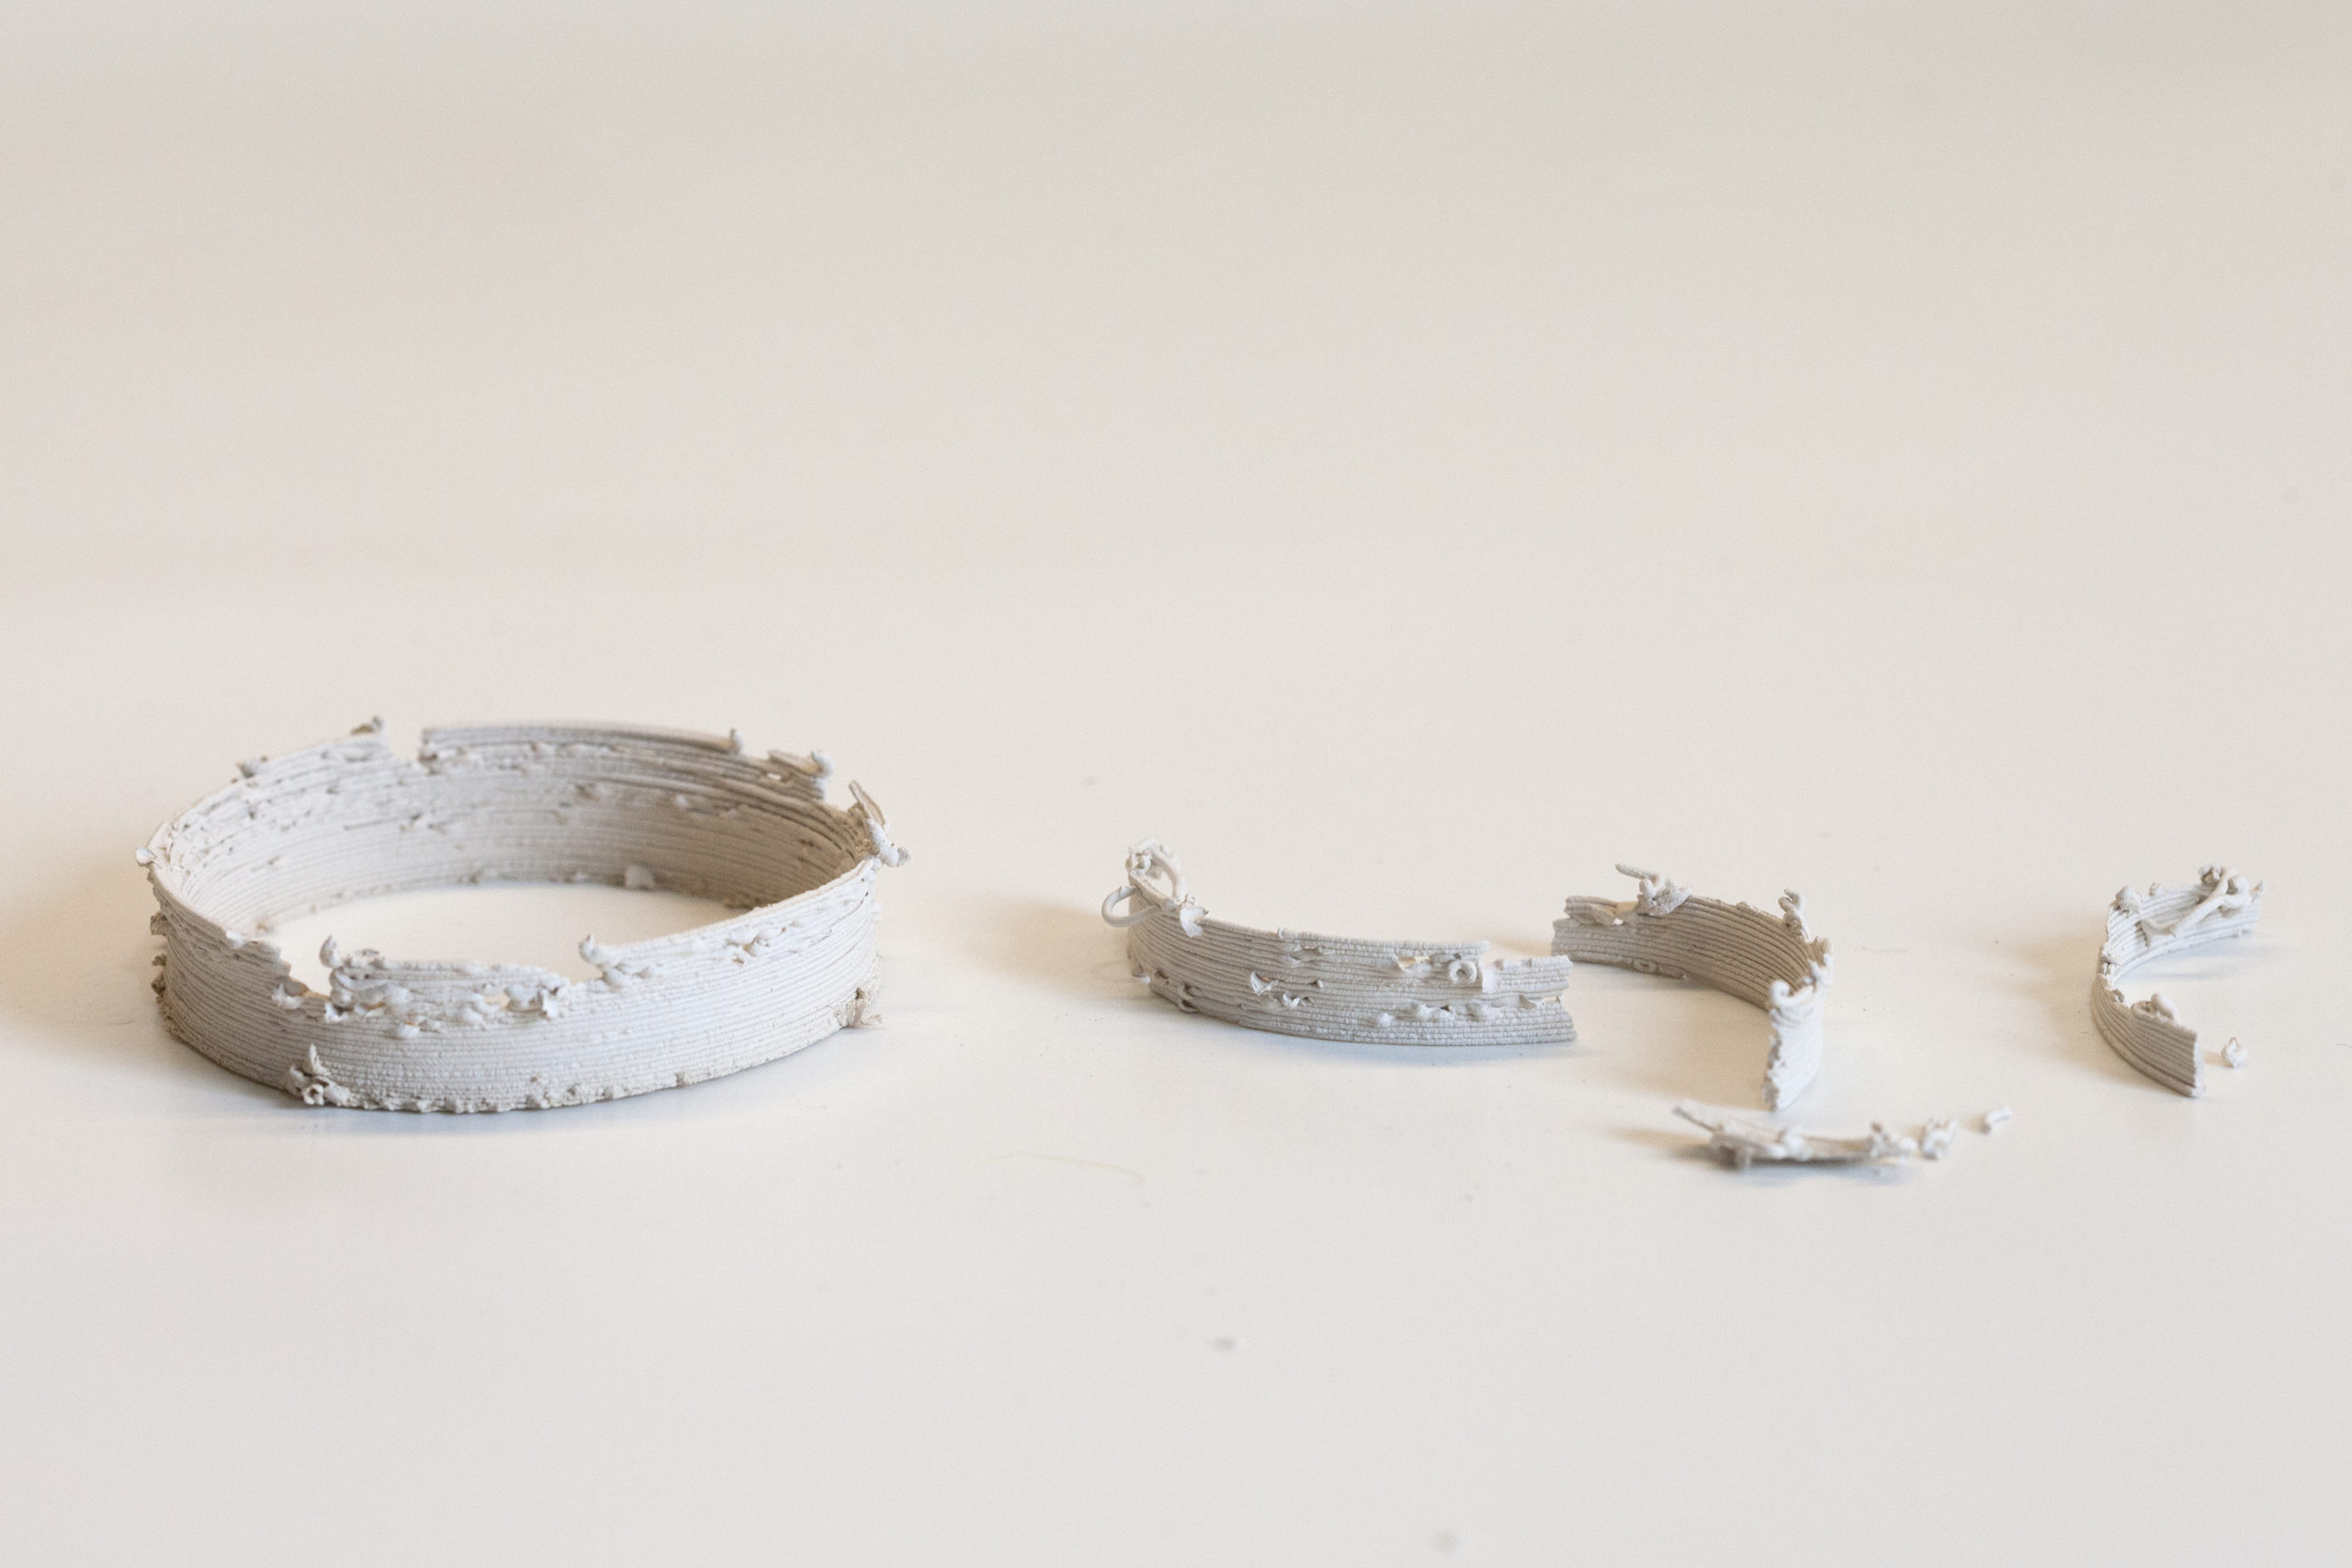
-
8/28
Wrench to remove lid from Wasp canister.
The push to connect fits into the hole in the center, and the dowels catch the steel rods on either side of the lid. If I cant get the lid with just the wrench (usually due to canister slipping in the other hand) I will tap the wrench with a 3lb mallet, has been working well.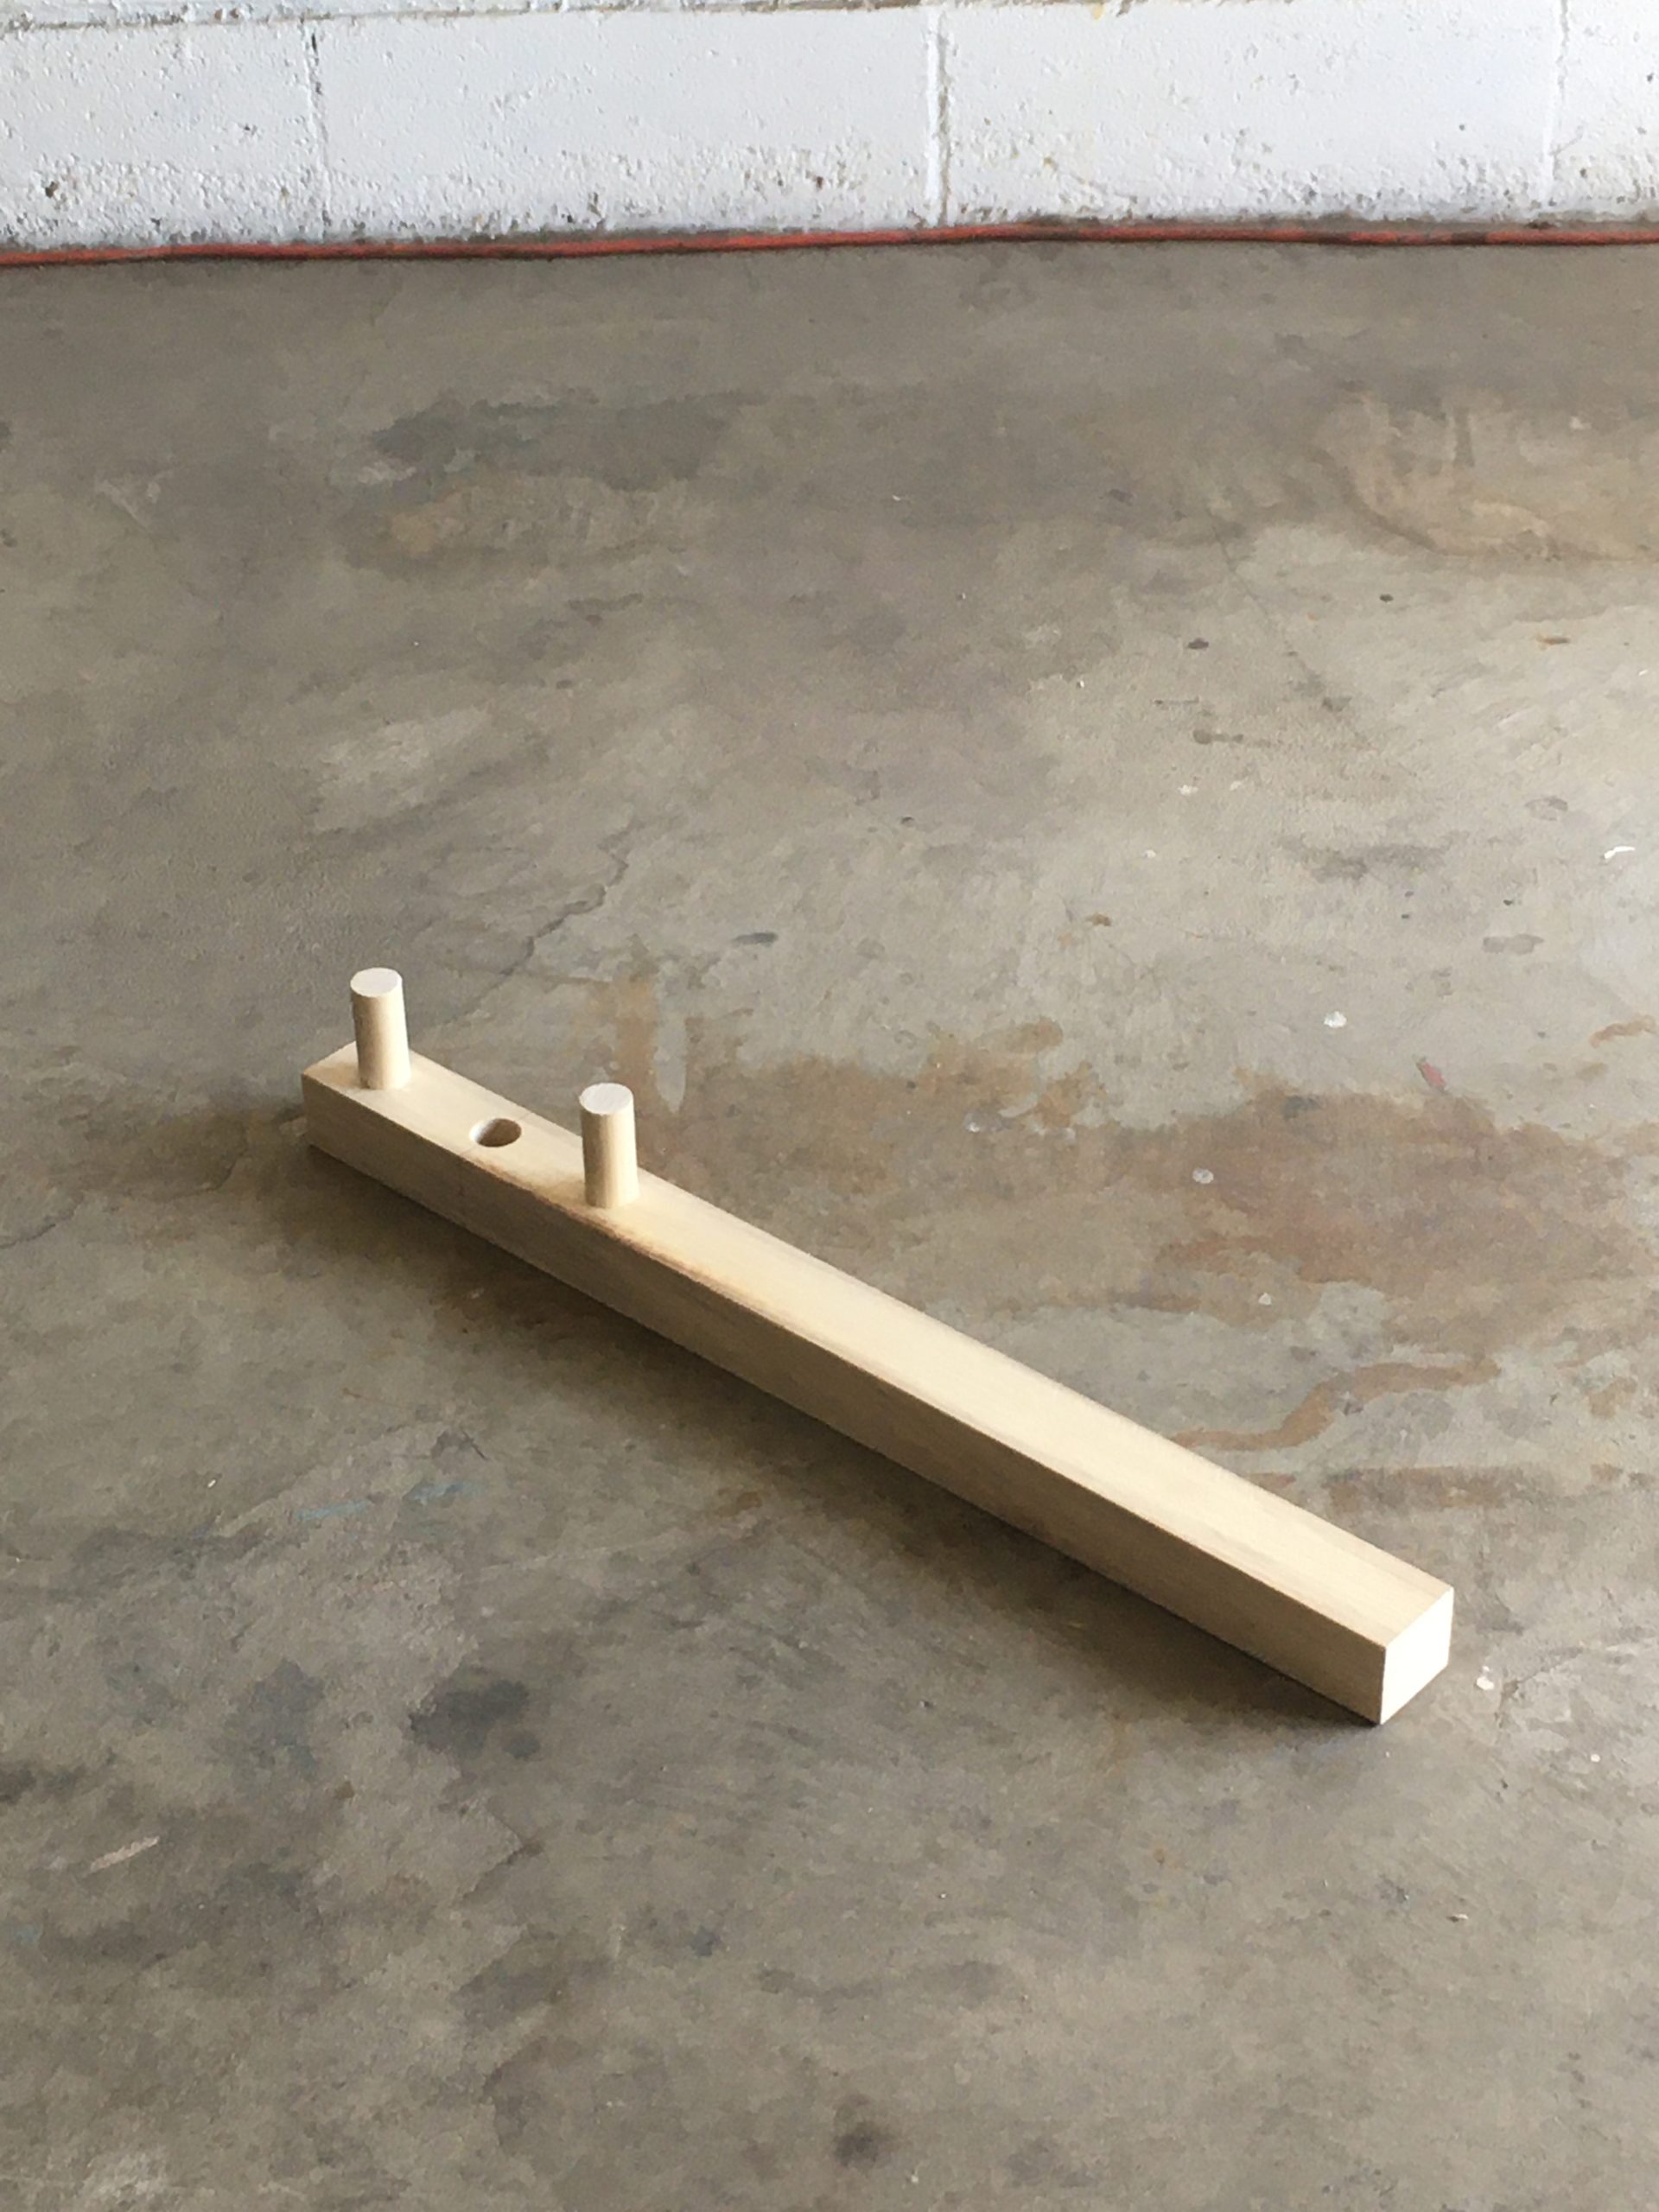
-
Week 34 & 35
Order from Wasp arrives.
Upon arrival I found that the new nozzle threading doesn’t match the extruder that I have. Maybe mine is 2.0?
New canister is a very pretty object, but it did not come with the “tank support” they suggested I ask for.
Delivery:
Purchased hose and fittings for air system. With little documentation online about the items used in the Wasp parts, as well as a bit of lack of info in general about small air fittings, I went through many purchases and returns to get the system up.
The earlier BOV I bought had 1/4″ NPT (tapered) connector, but the taper didn’t reduce as much as needed, so this part wasn’t fitting into 1/4″ NPT holes in different parts of my system. This meant that I was searching for what type of threading was being used, when in fact I had already known. Despite Wasp being a European brand, it seems they are using imperial parts for the air connectors. Also, it seems that all the push to connect fittings have the 1/4″ NPT taper much further than the quick connect brass pieces. Also, I did run into a quick mix-up with the brass fittings as I purchased automotive connectors at first and needed “industrial” connectors.
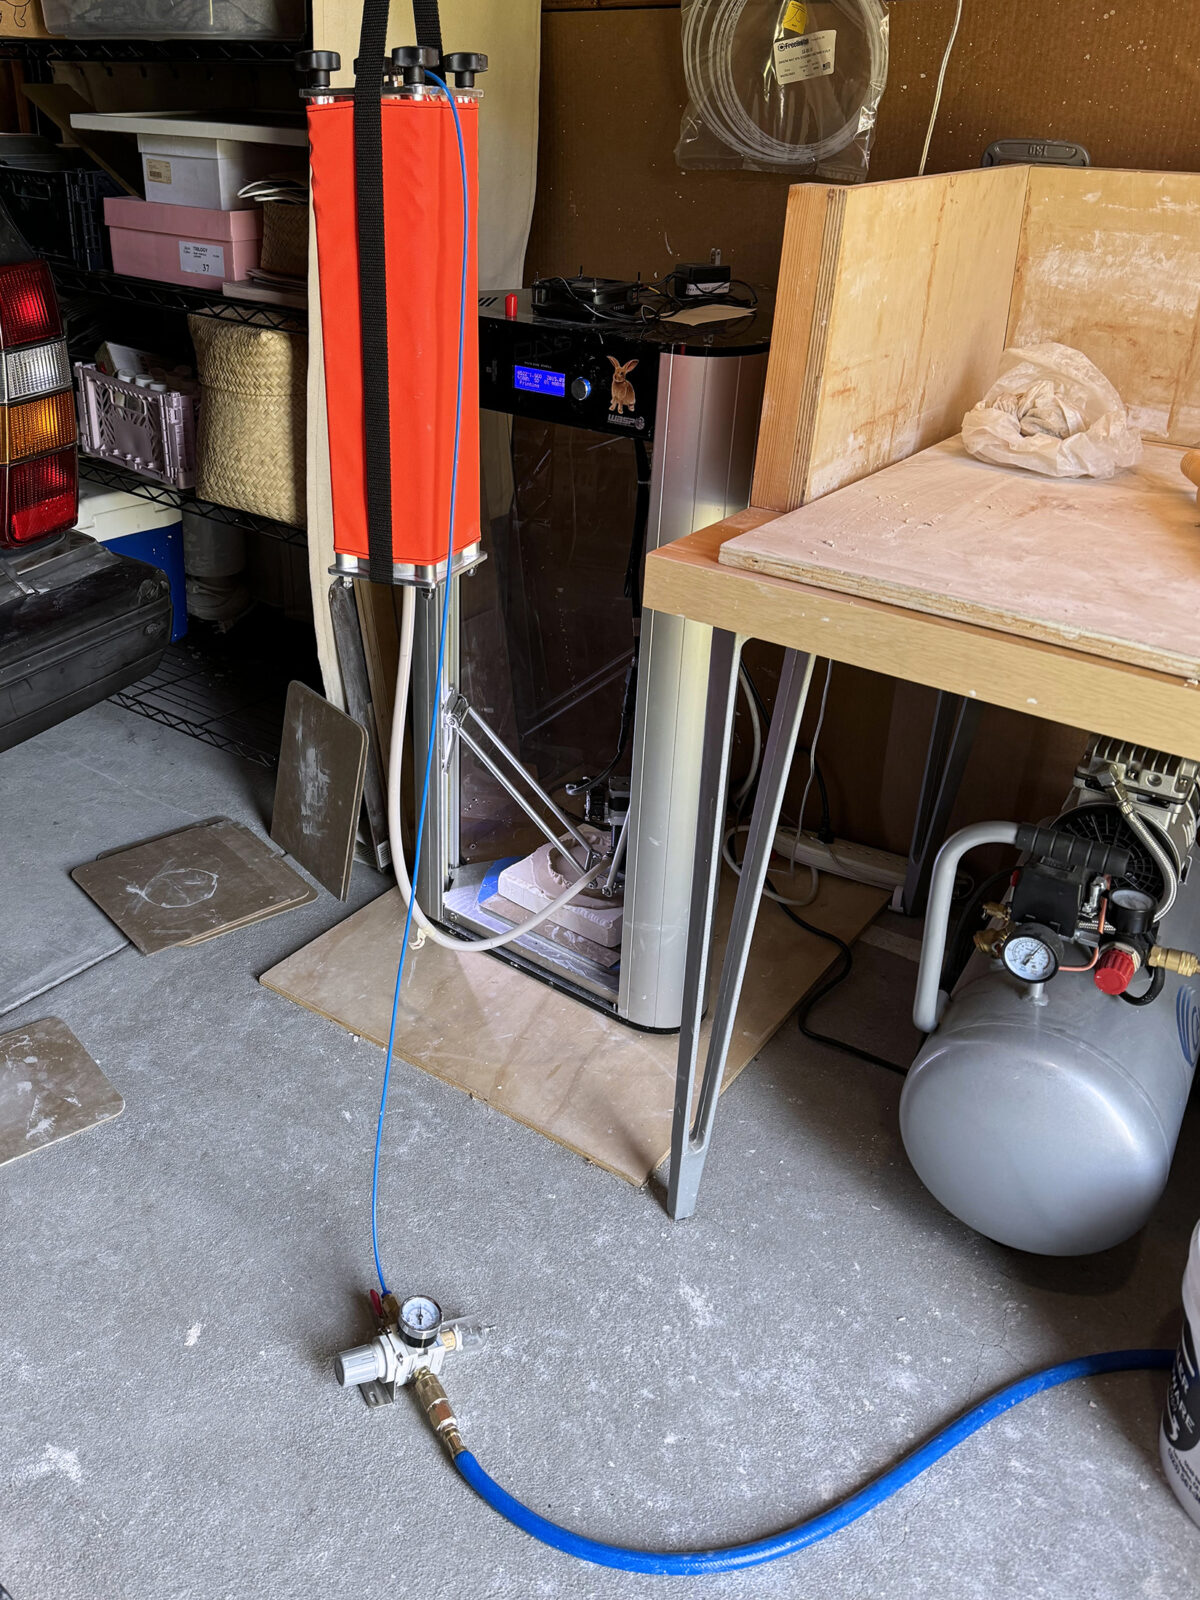
Compressor 8 Bar > Regulator @ 6 Bar> Hose with quick connect > Regulator to adjust flow > Cutoff Switch > (changes to push to connect) > 6mm OD Nylon Tube > Canister > 12mm OD Nylon Tube > LDM Head
Much of week 34 and weeks prior were spent attempting to get the air system working, after several leaks and issues, I got the pressure system working and still was running into troubles with the print head.
At first I thought that maybe my clay body was too hard, so I softened further.
Still not working, I observed the auger not spinning. The RJ45 connector which I had plugged into the cord that connected to the Red Spitfire connector (E1) turned out to be wrong, and needed to connect to the filament feeder connector (F1). This then caused the auger to spin. However I was still not getting results.
I spent a lot of time trying like this, more and more pressure (7 bar!) but at best was having the clay come out the top of the extruder. JK’s journal shows he put “hardening putty” on the top of the auger (above clay entry) to prevent the clay from climbing. I did this, but before I could try, I read about the auger direction problem that some people were experiencing. Switched internal wiring, auger spins correct direction! Eureka! (9/1) -
Week 31
The Rig:
This week I began the conversion of the Wasp 2040 Turbo 2 to LDM.
What I received from the eBay seller appears to be an incomplete LDM Clay kit from Wasp.
Purchased 2x M3 x 12mmL screws / nuts to connect LDM print head.
Disconnected Red Spitfire and labeled the two cords attached to it as E1 (extruder 1) and F1 (feeder 1), there are two additional cables above for (I assume) the zen extruder which can print 2 materials. (?)Attached LDM auger extruder and in doing so I discovered that I was missing a connector (Modu to RJ45) needed to connect the LDM extruder. (Searching for this info online fruitless, but found the answer through Wasp support)
I placed an order for a larger 2mm nozzle, and a new updated design of the canister, and Wasp threw in the connector gratis, all to be delivered week 34, after summer holiday. -
Week 30
The rig…
Stalled for a couple days, waiting for resolution surrounding damage during shipping. Ultimately the seller and I were able to come to a resolution quickly and repairs to damage began.
With most visible misalignment etc taken care of, plugged in machine, tuned and tested first few prints using PLA I had lying around for old Makerbot machine. First few were just frizz but without much fuss a few successful prints came out.
Prints…
7/24
1st test print success
100mm dia circle, 2mm H, 1mm wall – Printed with brim, adhesion good, print good
Missing boss for Luxo lamp. I had planned to outsource this print to repair an old lamp at the studio, good test print. 8 min, extra fast setting
7/26
Printed eternit planter designs at 1:6 scale, came out great
Medium Size – Speed Extra Fast 0.3mm – 1h15min
Large Shorter – Speed Extra Fast 0.3mm – 1h 26min
7/28
Printed entry to Alforno Di Cambio contest @ 1:6
6min, with supports, looks cute
Delivery…
Working on air pressure system this week.
Brass fitting on canister is bent, maybe should be replaced? Note from owner, Brass fitting is PRV. Pressure release valve.
7/25 Compressor arrives, look great, quiet
7/29 Purchase new blow off valve @125psi via Amazon – Ultimately this part will cause me a lot of headaches because it is cheap poorly made item.
Clay…
Began researching,
Via JK
Red clay has small platelets -> too sticky -> x
White clay has large platelets -> less sticky
Also too much texture is bad as it also adds friction
JK goes into detail, but ultimately as he is using UK and EU source, I will buy something comparable and readymade from Laguna
JK also notes a whole bunch of shrink rates, while they are useful, I will need to test on my own clay body, however, he notes that shrinkage is more dominant in the vertical direction.
Clay on Laguna site (possibles)
B Mix, Cone 5, WC401, cream
Porcelain B Mix, cream
Frost 6 WC 437 Cone 5-6
B Mix 10, Cone 10, WC379, Buff / Brown
Porcelain 550, Cone 10 WC631
Frost Cone 10, WC 896Cone 5 Temp – 2160F / 1180C
Cone 6 Temp – 2200F / 1200C
Cone 10 Temp – 2350F / 1300C
7/24
When ordering at Laguna
Willcall – 50lbs min, next day
In Store – 25lbs possible, in store purchase (same day)
Purchased 50lbs
B Mix, Cone 5, WC401 (imagery in catalog showed 3d printed pieces using this clay)
21$ / 25lbs -
Week 29
Printer arrived 7/20/2023 via sale through ebay.
Shipping damage apparent, repairs will be needed :-/ (See damage list for detail)
The rig…
Wasp 2040 Turbo 2 outfitted with red spitfire LT extruder 0.4mm nozzle (for PLA, PETG, FLEX)
Build space 40cm dia, 80cm h
Also included was a LDM printhead extruder (v 3.0?) with 1.2mm nozzle, and 3L alu canister for clay.
Prior to arrival I’ve updated my [old] laptop from xp to windows 10 so I can run Cura15.04, as well as Blender3.6 which I think might be interesting for the printing iterations.
Print profile for Cura downloaded via wasp site, but needed configuration as Custom: FFF profile, elliptical build space.
Possible further purchases if we decide to continue printing plastic with this rig.
Could buy:
-New print plate
-HT cartridge for red spitfire (for ABS, PA, PC, HIPS, PA+C, ASA, PMMA, PP)
-Zen double extruder for 2 materials at once (support + material)
-Carbon kit? Sounds interesting
Possible needed purchases for clay printing:
-Larger nozzle?
-Additional (Larger? 5L) canister
Delivery System…
In anticipation of getting this all going I purchased (via Amazon) a new compressor.
California Air Tools 8010, 8 gal, ultra quiet -
Intro of LDM Journal / Week 28
During the summer of 2023 I decided to take on a project of converting a 3d printer to print clay, via a process called LDM, Liquid Deposition Modeling, it is essentially a form of additive manufacturing.
This section of my site will be devoted to posting about this project, which at this point is mostly speculative research, but may at some point turn into something more realized.
This decision was inspired by seeing both the work of Jonathan Keep and also some work by Studio RAP out of the Netherlands. Mr. Keep appears to be a pioneer of 3d printing clay and has posted online much of his work and data. This resource has been a really big help in my progress, and without his guide to 3d printing clay I am not sure I would have begun. -
LDM Journal
Welcome!
I’m running a WASP 2040 Turbo2 with a LDM head to print clay.
This is an ongoing project of research, experimentation and iteration.
I hope to document information for myself, and anybody who is interested.